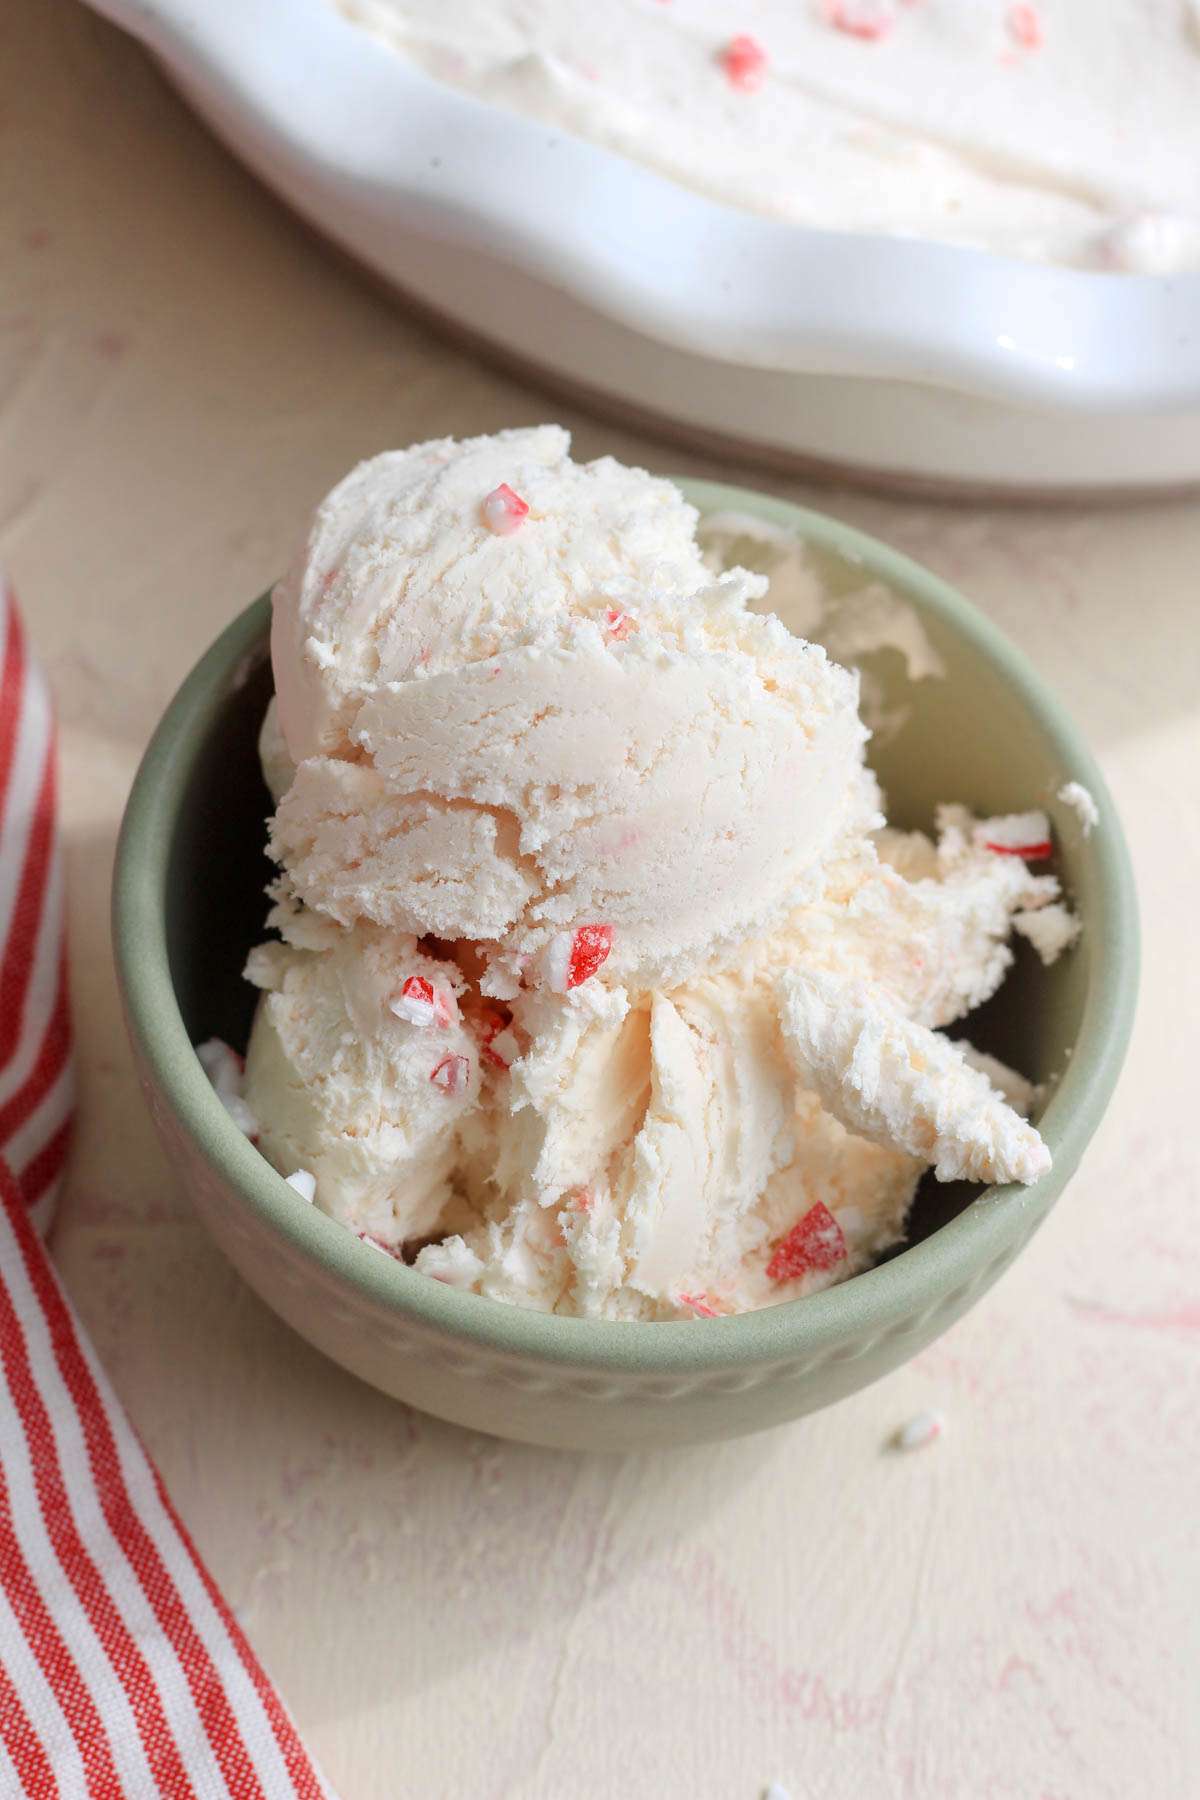
No Churn Peppermint Ice Cream
This simple recipe for no churn peppermint ice cream is quick to whip up and perfect for the holiday and winter season. Made with 5 ingredients, this vegan candy cane ice cream is a refreshing minty treat.
Growing up as a kind in Texas the holiday season truly began when you would find Blue Bell’s Peppermint Ice Cream on the shelves. My mom would take the seasonal half gallon and turn it into our holiday favorite treat, Peppermint Ice Cream Pies.
After 7 years of dairy-free eating, I can safely say that I have found my go-to method for making dairy-free ice cream and I am happy to report I have finally mastered a vegan option for peppermint ice cream in the winter.
Why We Love This No Churn Peppermint Ice Cream
With all of the delicious flavors of the holiday season, this peppermint ice cream is perfect for all of your winter ice cream needs.
- Quick to make. This recipe whips up in minutes for a creamy and pepperminty treat sure to be enjoyed by all.
- Versatile. There are a number of ways you can eat, serve, and use this peppermint ice cream all winter long.
- Seasonal. It just makes the winter time feel a little extra special when you can make a treat that reflects the season even when you live in a warmer climate.
Vegan Changes to Peppermint Ice Cream
There are two key ingredients to making a no-churn ice cream vegan and in this recipe I have a few opinions about why these ingredients are better to use than some of the others.
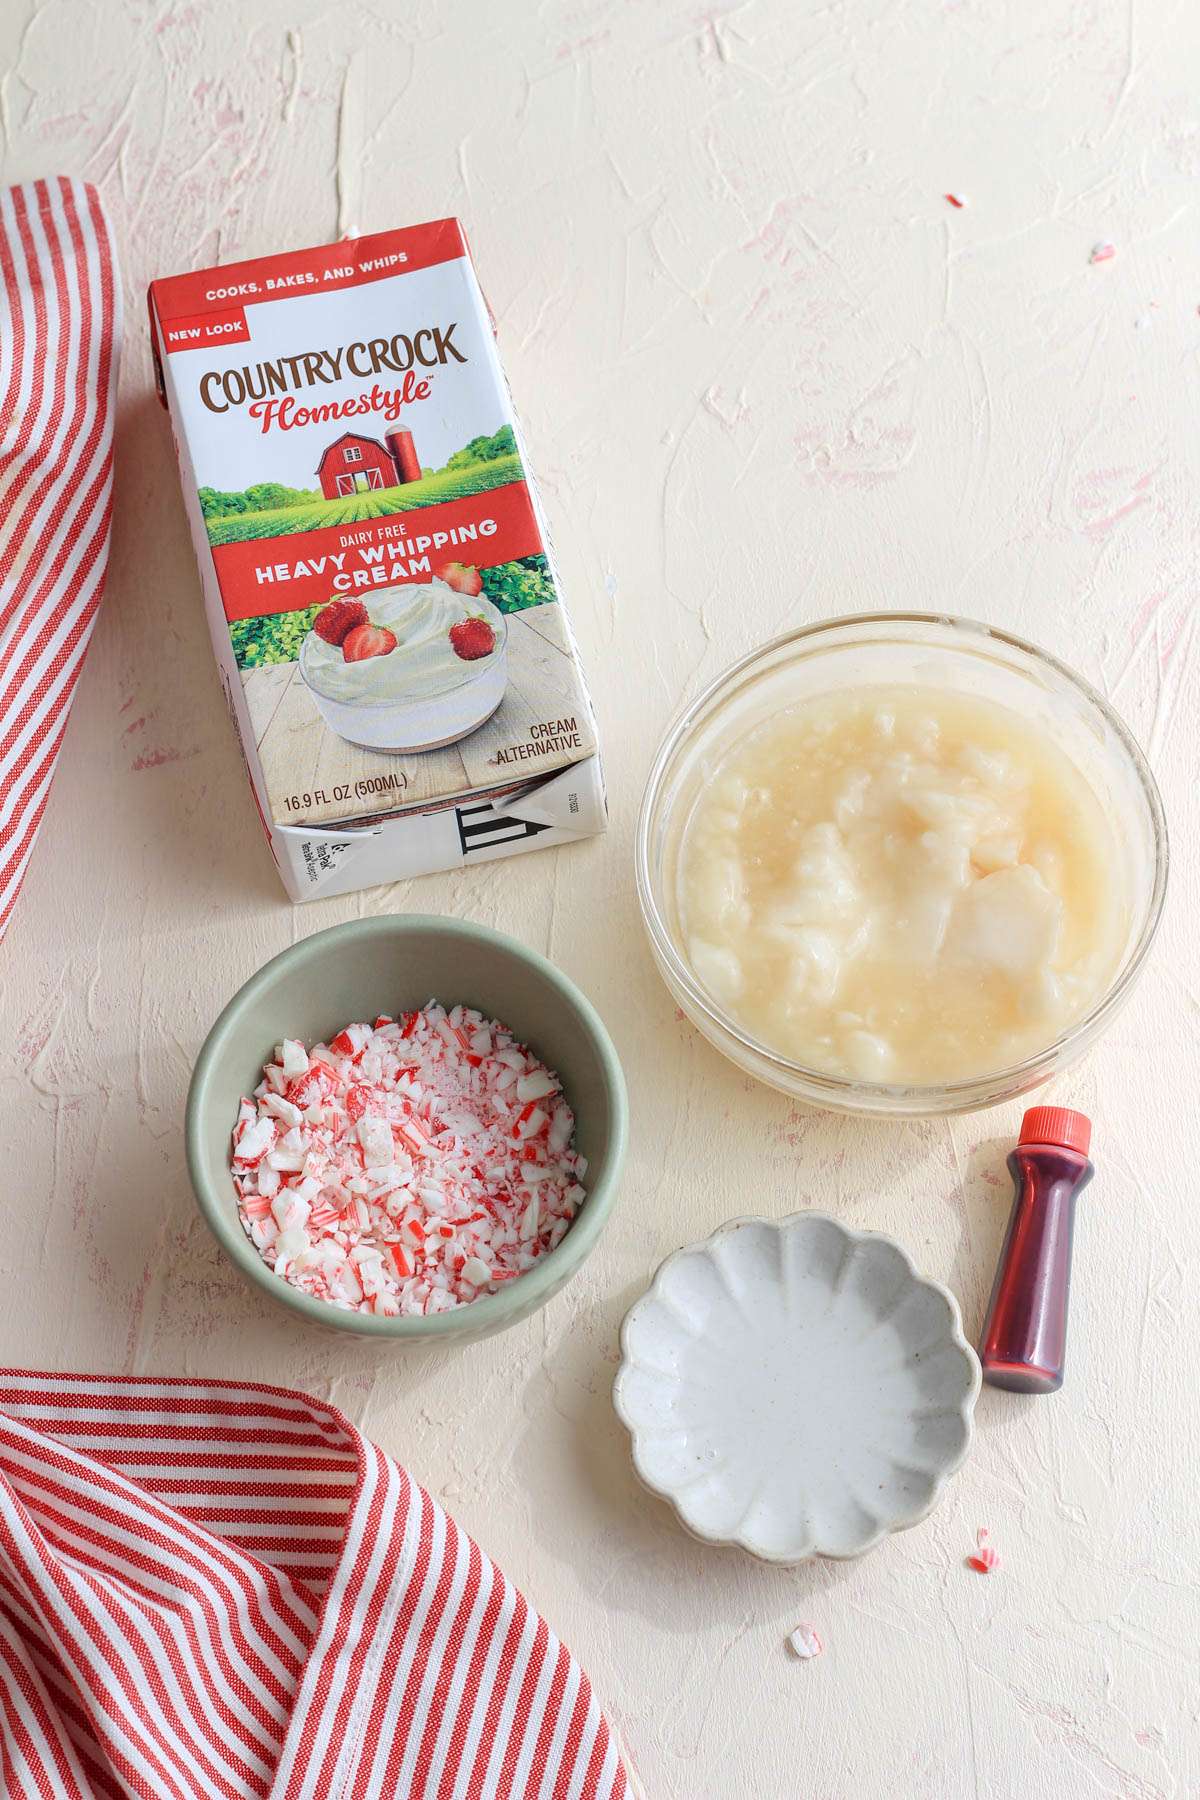
- Non-dairy heavy whipping cream– I have tested three different brands of dairy-free heavy whipping cream and when it comes to no-churn ice cream the Country Crock Plant Cream works the best.
- Sweetened condensed oat milk– In this recipe I would stick to sweetened condensed oat milk over sweetened condensed coconut milk. The coconut milk left a stronger flavor and the oat milk came out a touch smoother.
How to Make Vegan Peppermint Ice Cream
Ingredients You’ll Need
- Dairy-Free Heavy Whipping Cream– For this recipe I swear by Country Crock’s Plant Cream to make the lightest, fluffiest, and largest yield of no churn ice cream.
- Sweetened Condensed Oat Milk- I highly recommend a sweetened condensed oat milk variety over the coconut milk option as it has a more neutral flavor.
- Peppermint Extract- For a refreshing peppermint flavor.
- Red dye– Adds a light pink tint to the ice cream, completely optional.
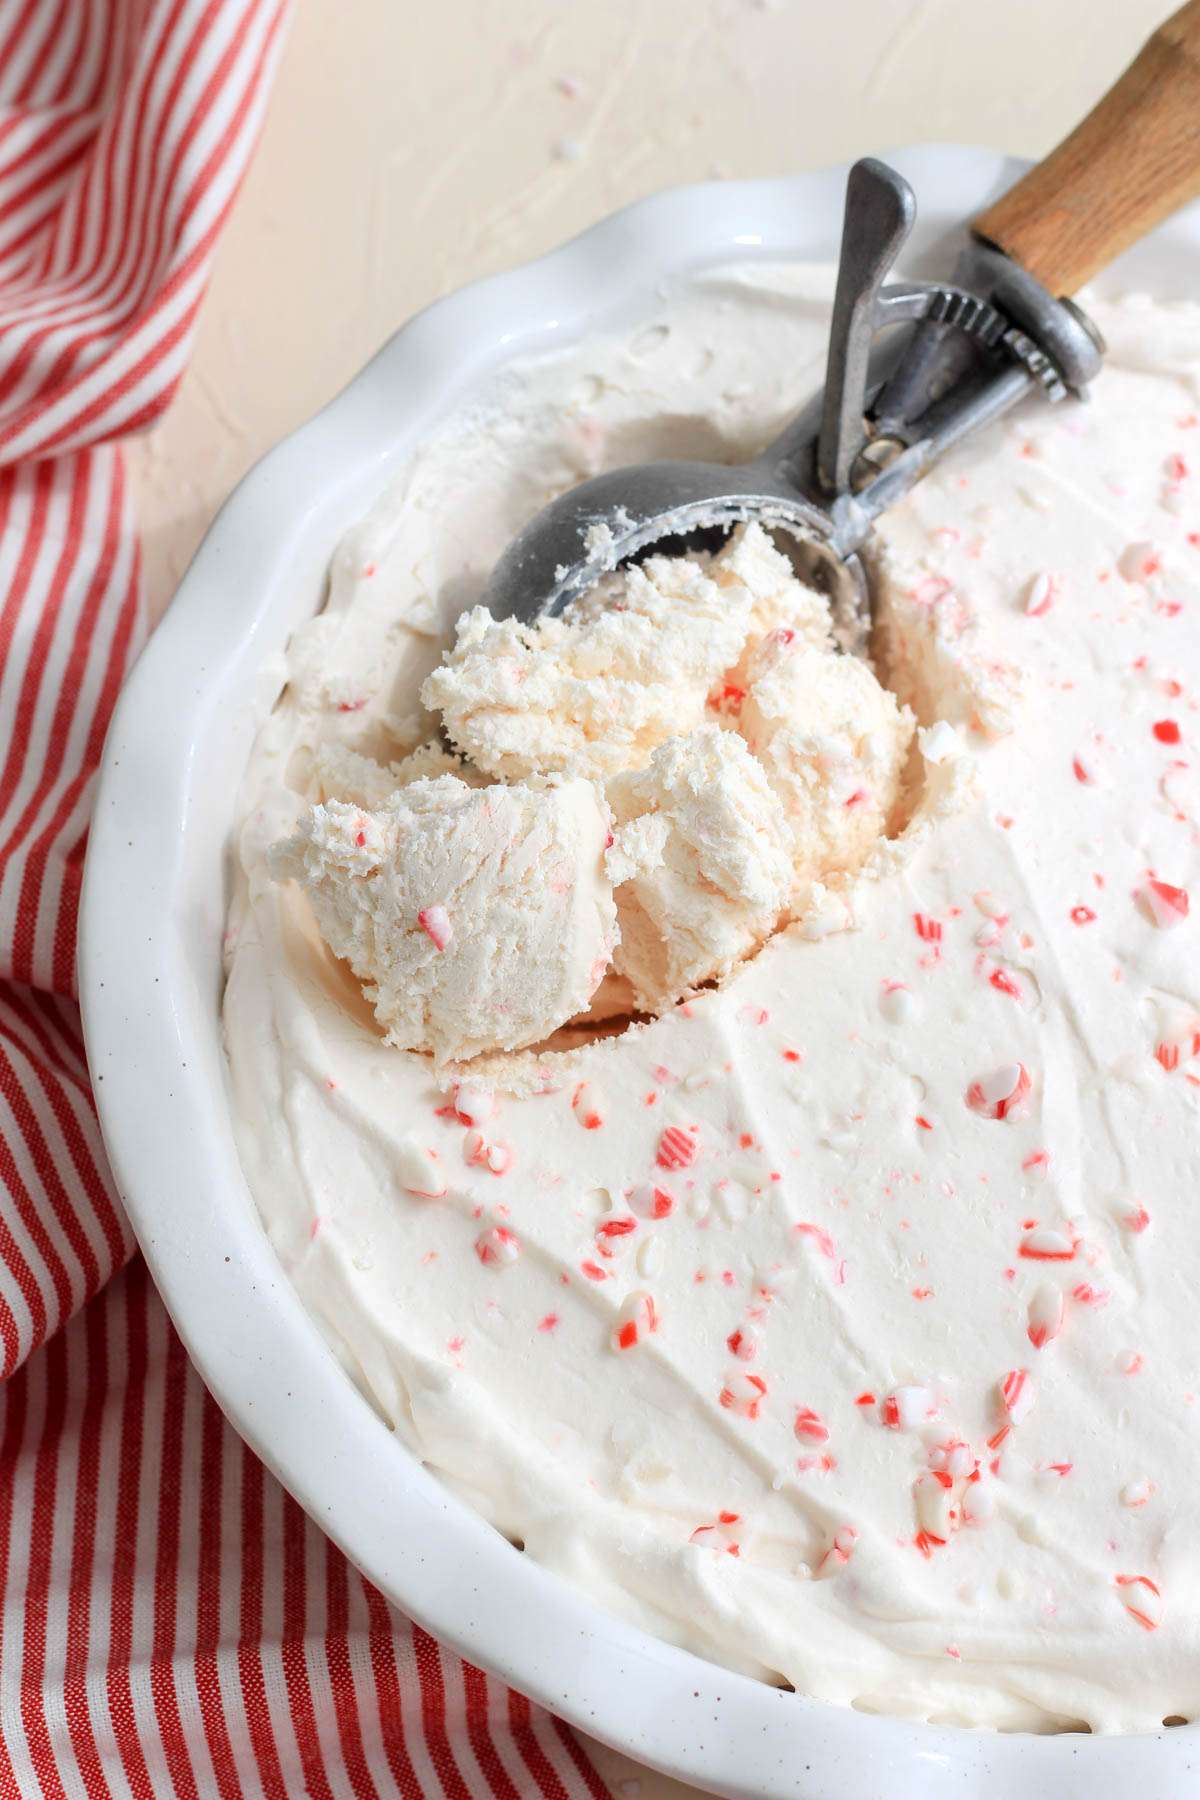
- Crushed candy canes– Folded in for color, texture, and added pepperminty goodness.
Step-by-Step Directions for Vegan Peppermint Ice Cream
- Make whipped cream: In the base of a stand mixer fitted with a whisk attachment, whip heavy whipping cream alternative on high for about 2 minutes, or until thick and fluffy.
- Add flavor: Add sweetened condensed oat milk, peppermint extract, and red food coloring to the whipped cream.
- Mix until evenly distributed.


- Fold in crushed peppermint/candy canes.
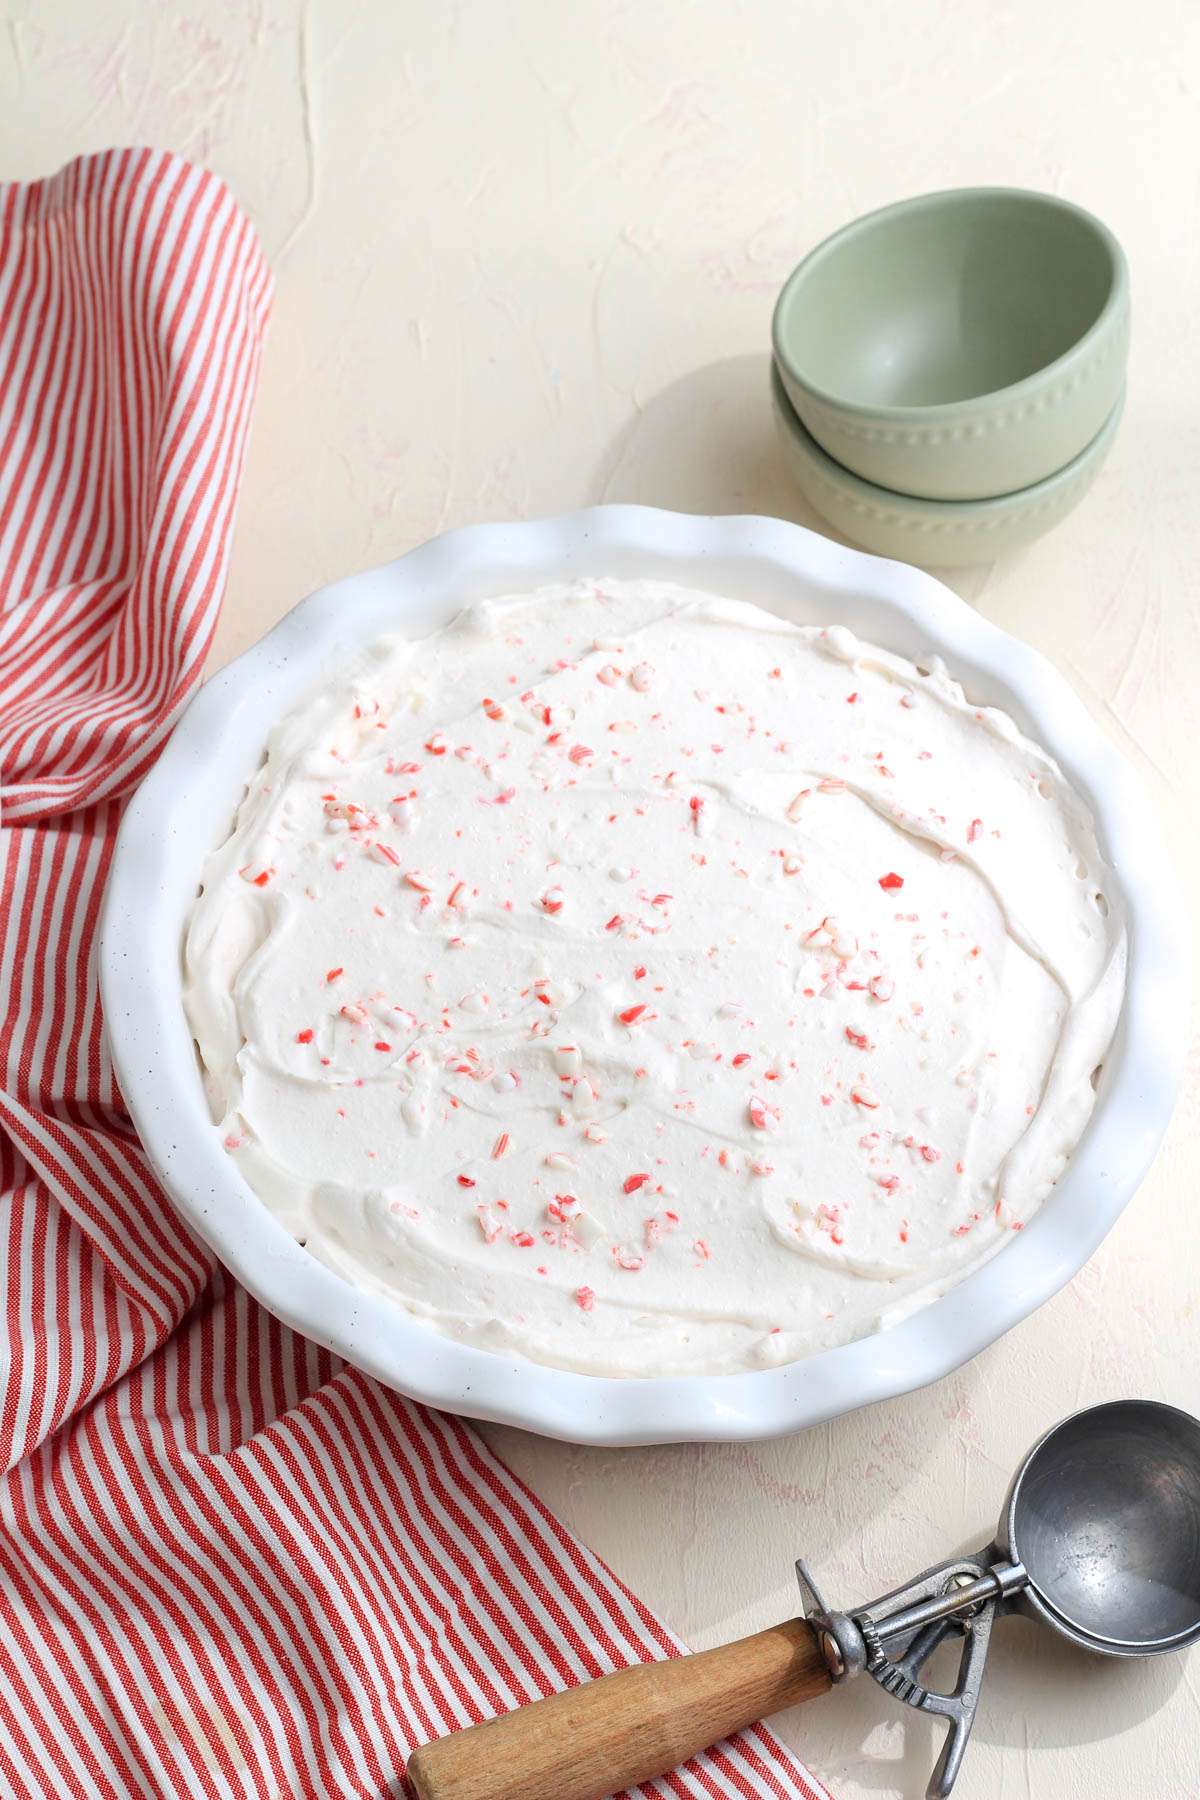
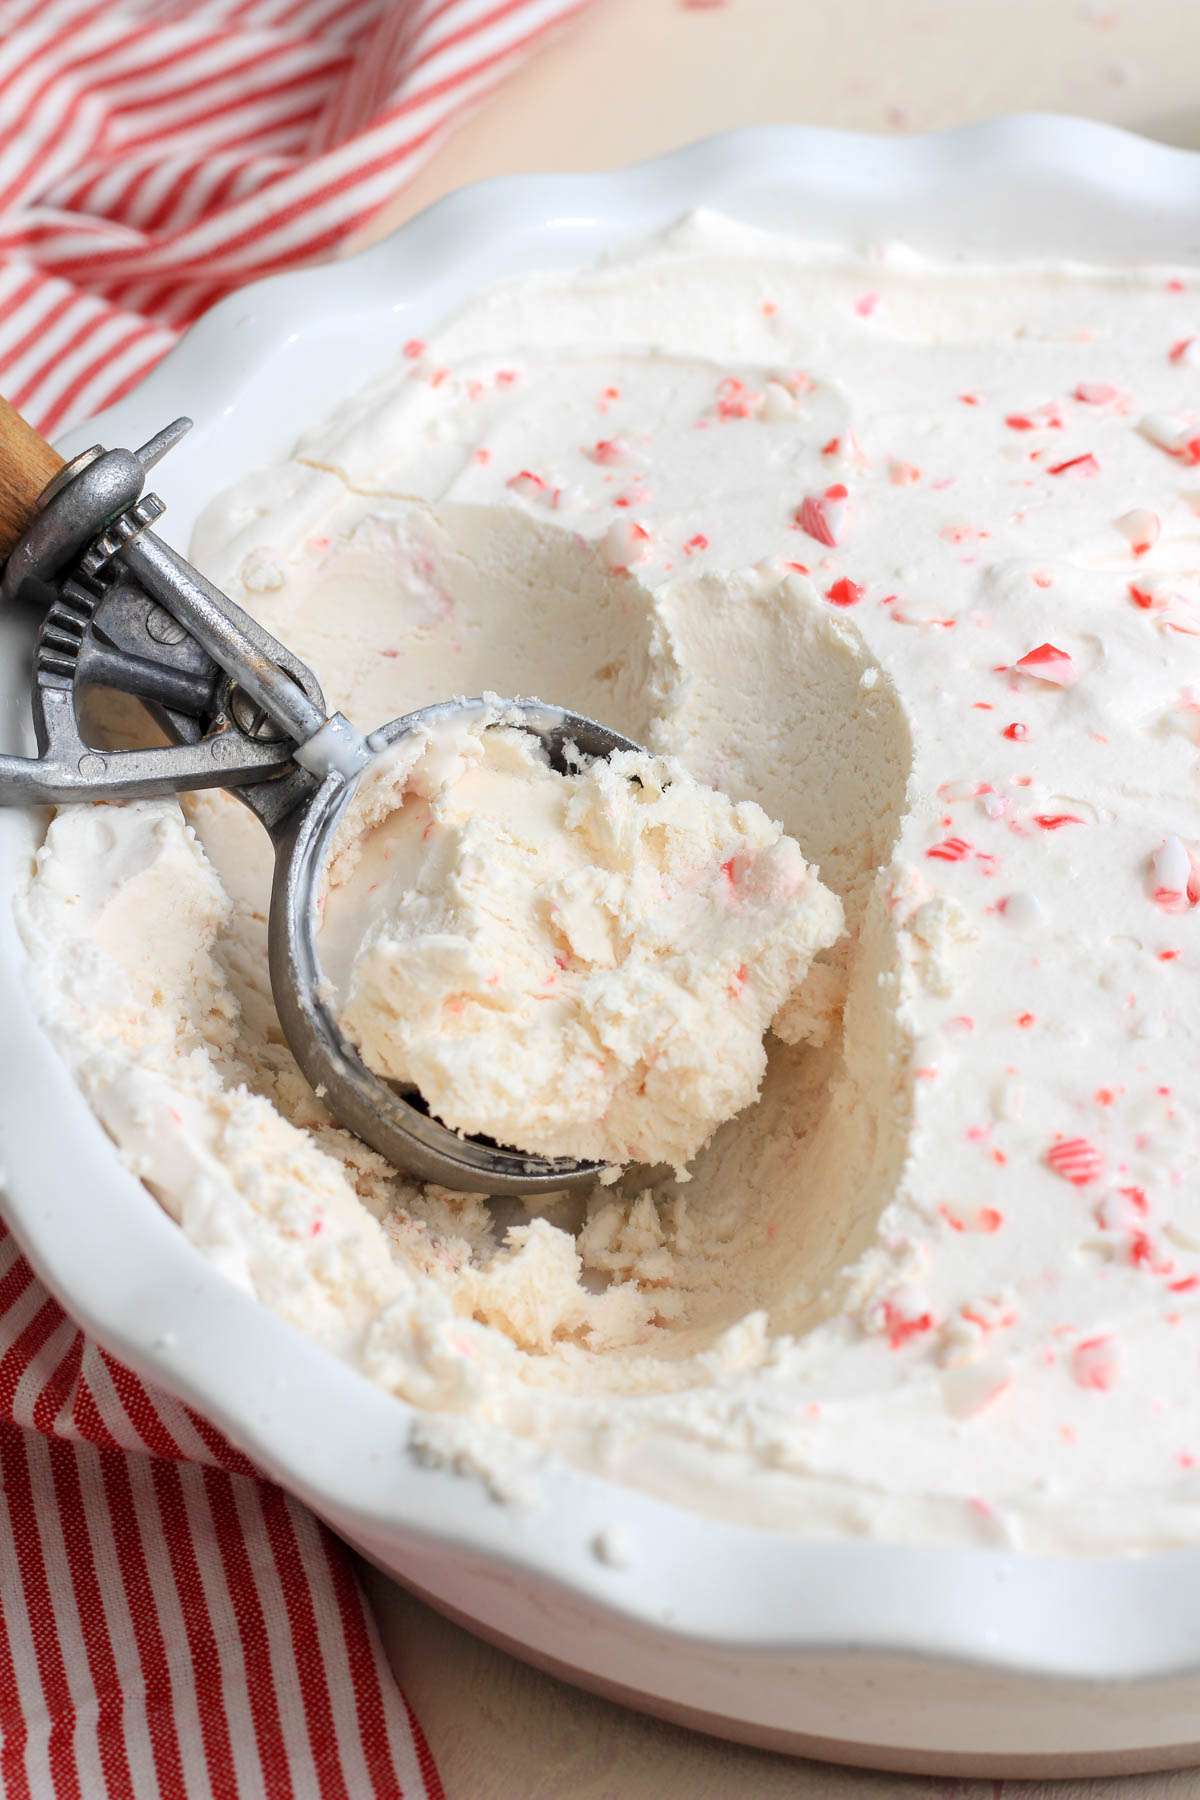
- Pour into a large, freezer-safe container that can hold up to 10 cups.
- Cover: Spread evenly and cover with plastic wrap.
- Freeze: Place in the freezer and freeze overnight or for at least 8 hours.


Helpful Kitchen Tools
As someone who has made quite a few no churn ice cream recipes over the years, here are the tools I find most suited for the task.
- Stand Mixer– Best for whipping up the heavy whipping cream into a fluffy finish.
- Hand Mixer– If you are not ready to invest in a stand mixer or just want to have an easier to store item, a hand mixer can whip up the heavy cream alternative well too.
- Small rubber spatulas– Perfect for folding in the crushed peppermint.
Serving Suggestions
There are a number of different ways you might enjoy serving this peppermint studded ice cream including:
- Lofted on a fudgy brownie
- Made into a peppermint ice cream pie
- Sandwiched between two peppermint chocolate chip cookies for a delicious ice cream sandwich
How to Store Vegan Peppermint Ice Cream
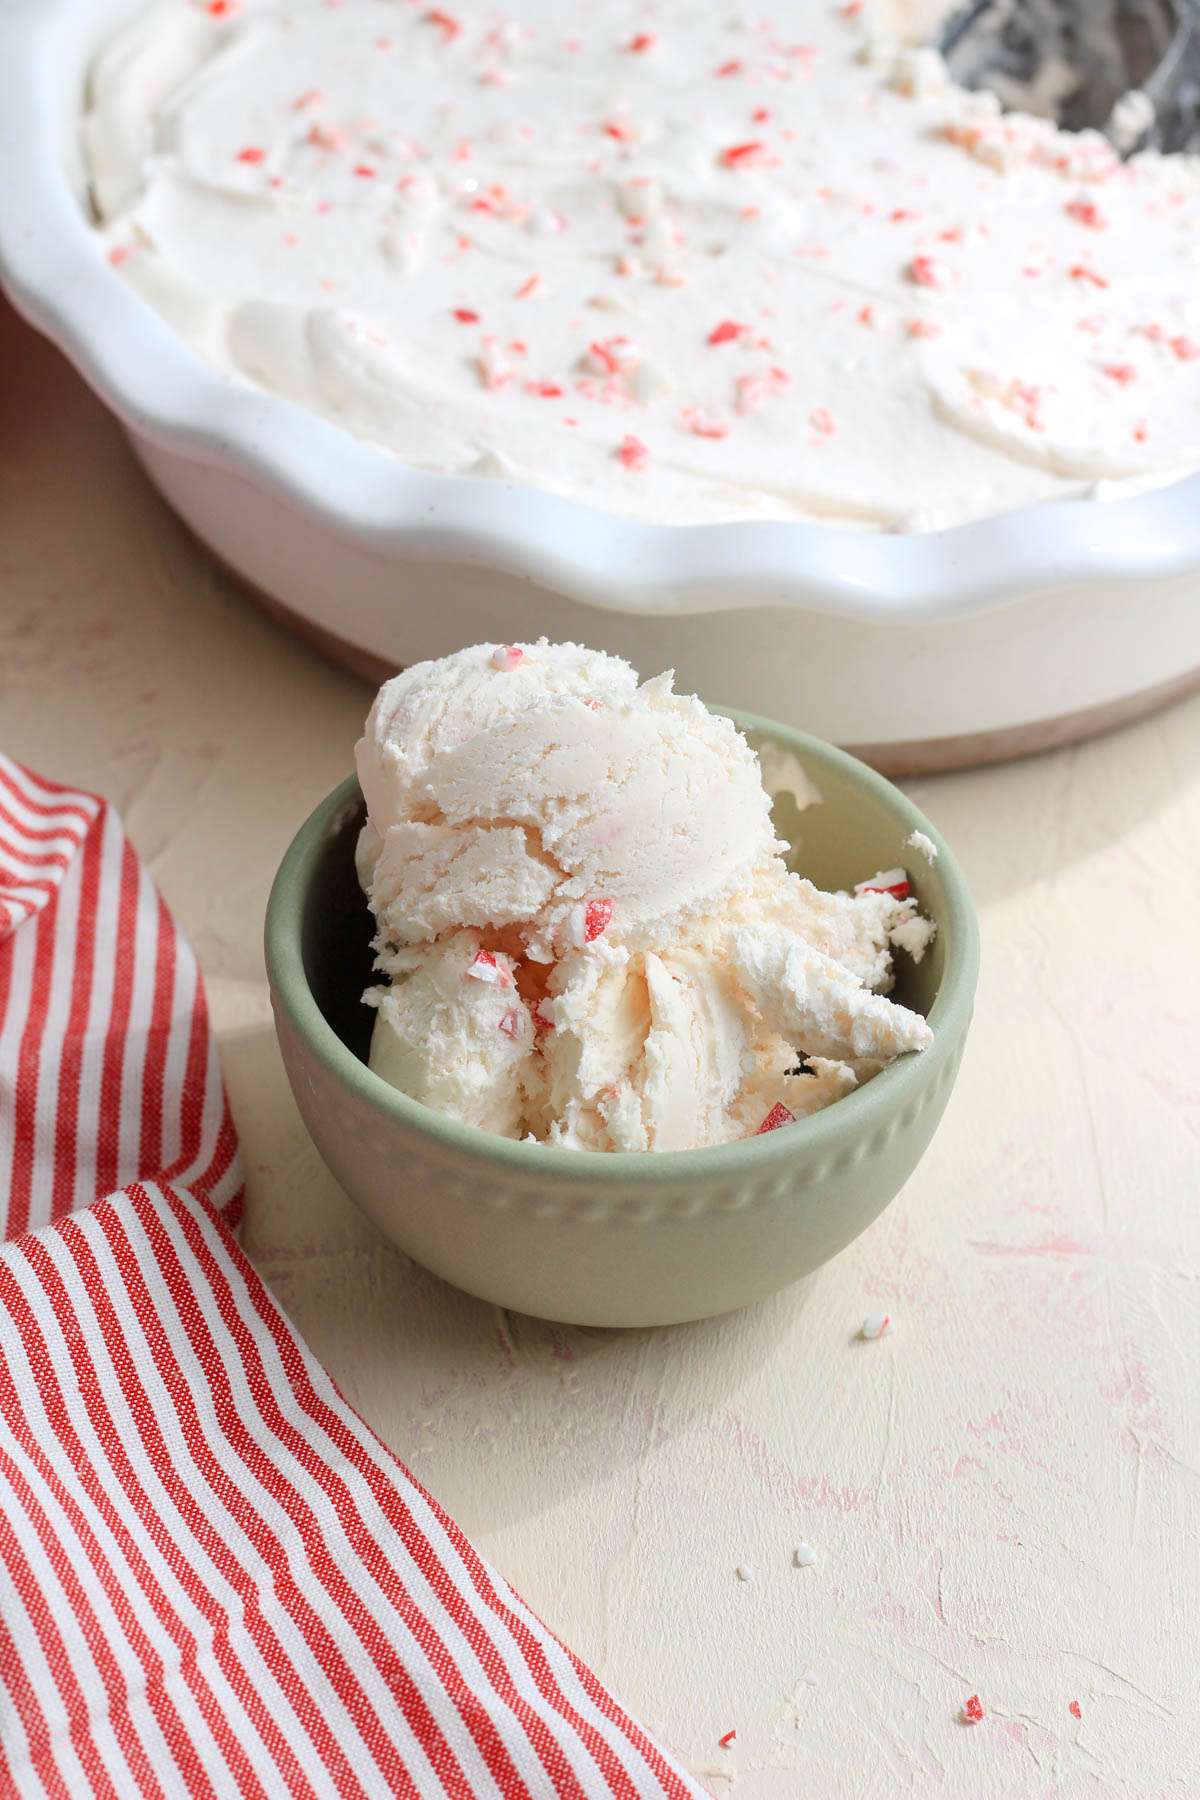
The best place to keep your no churn peppermint ice cream would be the freezer. It will keep fresh and creamy in a freezer safe container for up to 3 months.
- This batch of ice cream yields close to 10 cups of volume so you want to make sure you have a container that will hold at least 10 cups (like this one).
- Alternatively you can divide the chocolate ice cream into a few smaller storage containers, like these.
Looking for Additional Winter Treats?
Here are some of my favorite peppermint studded desserts for the winter.
If you tried this No Churn Peppermint Ice Cream recipe please let me know in the comments below!
You can also share a picture of it with me on Instagram by tagging @mylifeafterdairy so I can see all of your life after dairy adventures!
Looking for more delicious dairy-free recipes and tips? Sign up for my newsletter below to get the most helpful recipes, tips, and products for your life after dairy.
No Churn Peppermint Ice Cream

Light and refreshing, this vegan no churn peppermint ice cream is a simple recipe for a delightful winter treat!
- Prep Time: 5 Minutes
- Freezing Time: 8 hours
- Total Time: 8 hours 5 minutes
- Yield: 10 cups 1x
Ingredients
- 2 cups Dairy-Free Heavy Whipped Cream
- 11.25 ounces Sweetened Condensed Oat Milk
- 1 teaspoon Peppermint Extract
- 8 drops Red Food Dye
- 1/2 cup Crushed Candy Canes
Instructions
- In the base of a stand mixer fitted with a whisk attachment, whip heavy whipping cream alternative on high for about 2 minutes, or until thick and fluffy.
- Add sweetened condensed oat milk, peppermint extract, and red food coloring to the whipped cream.
- Mix until evenly distributed.
- Fold in crushed peppermint/candy canes.
- Pour into a large, freezer-safe container that can hold up to 10 cups.
- Spread evenly and cover with plastic wrap.
- Place in the freezer and freeze overnight or for at least 8 hours.
Some of the links above contain Amazon affiliate links. These are products and brands I use in my kitchen daily. They pay me a small commission for the referral at no additional cost to you.