Peanut Butter Banana Popsicles
Last Updated on March 5, 2025 by Annie
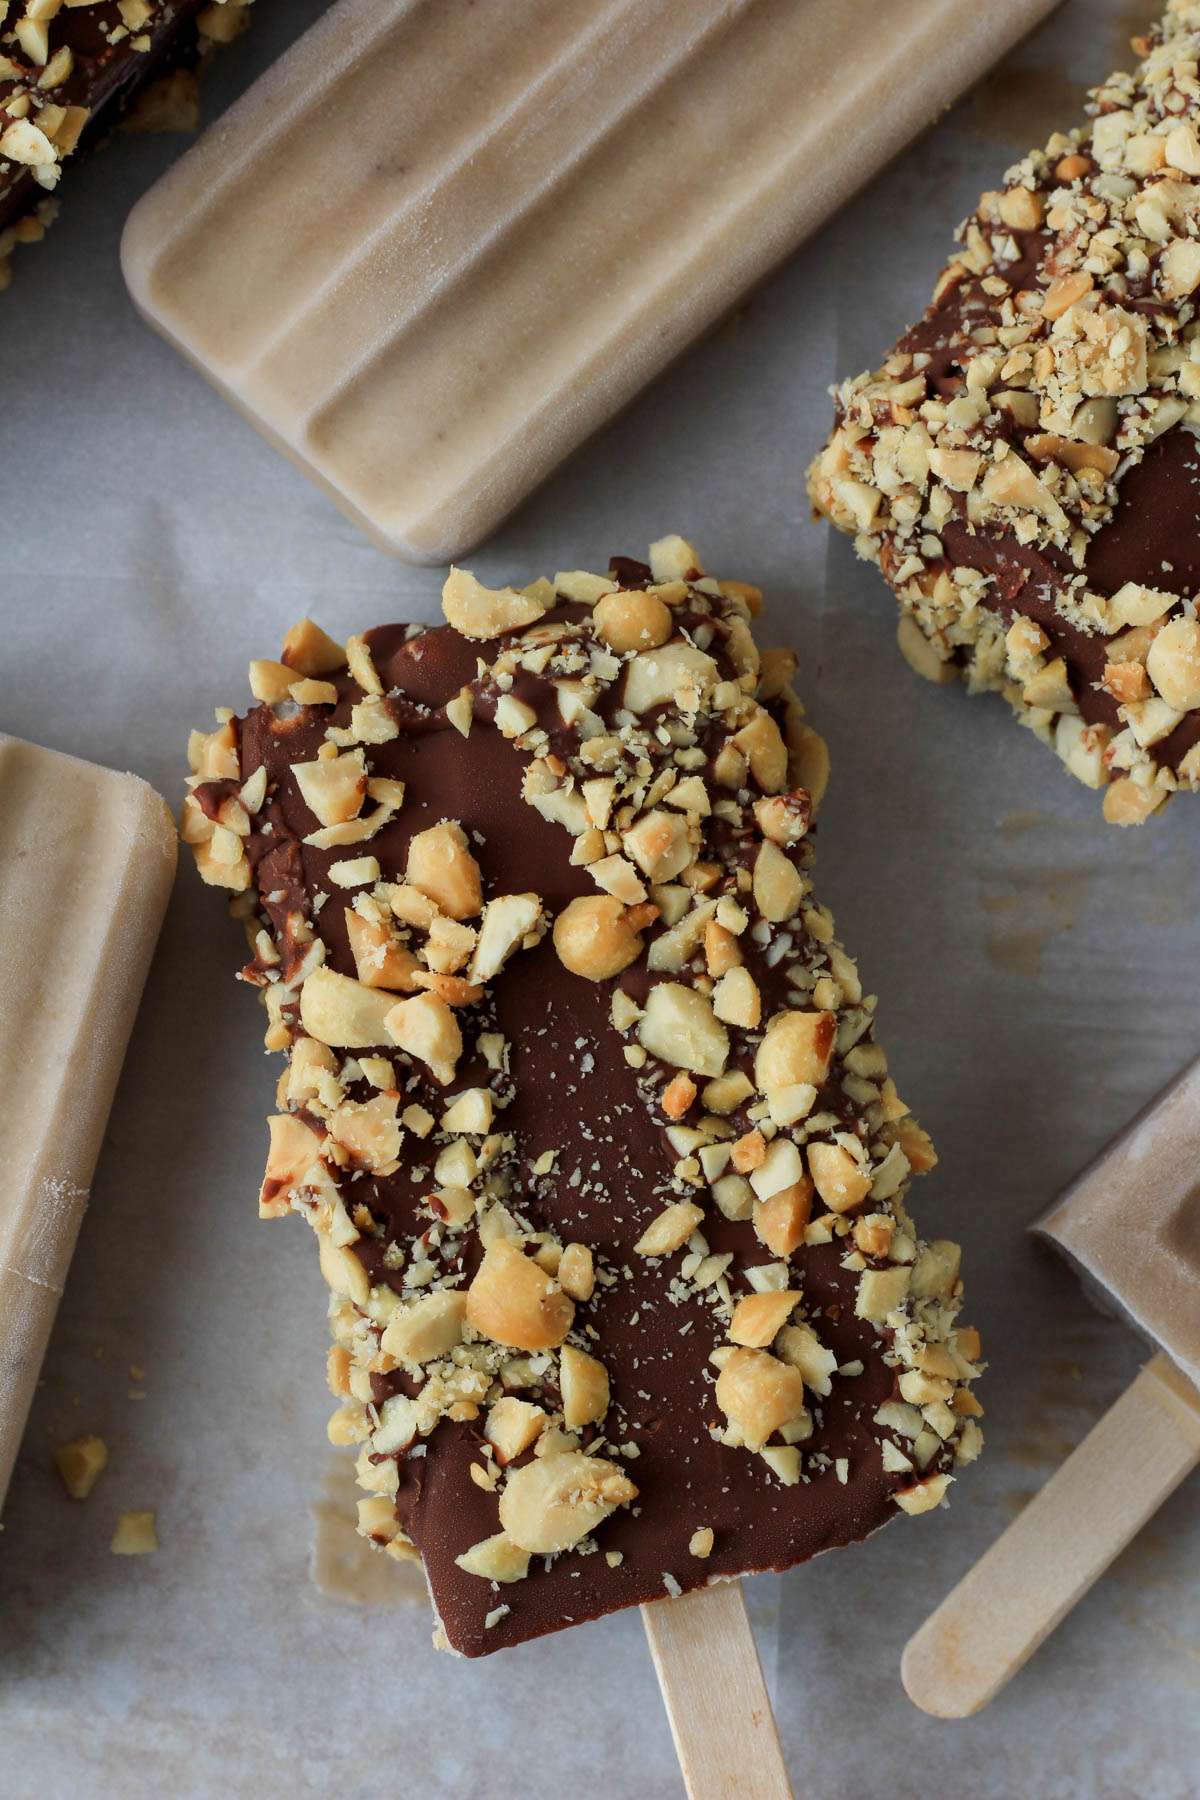
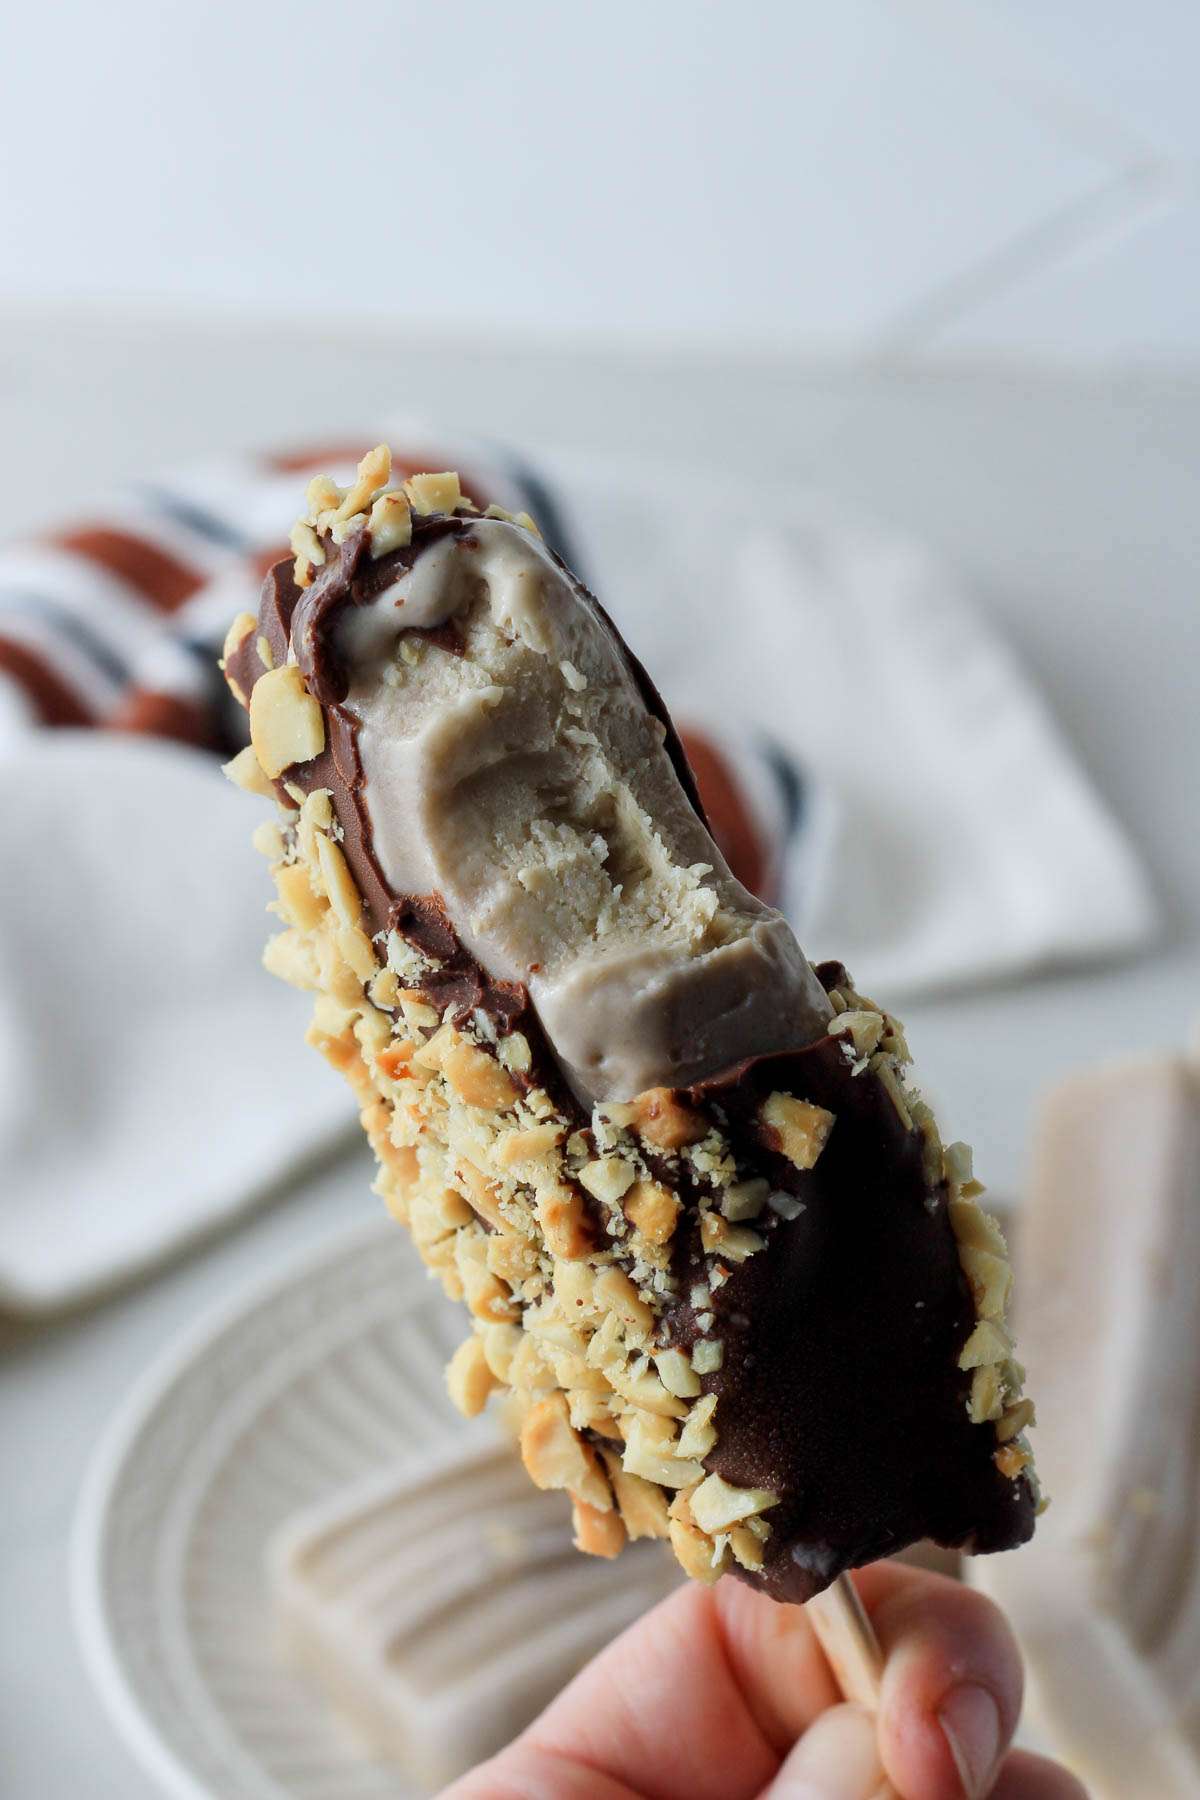
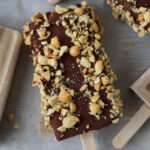
Creamy, flavorful, and made with four ingredients, these healthy and dairy-free peanut butter banana popsicles are the perfect summer treat. Serve them plain or dipped in chocolate, you truly can’t go wrong.
Is it just me or is summer getting shorter? I vaguely remember starting school around labor day and ending before memorial day. But here we are not a week into August and it feels like everyone is already back to school.
Thankfully my littles still have a few more weeks of summer and with that, a few more weeks to indulge in splash pads, garden fresh produce, and some heat beating popsicles.
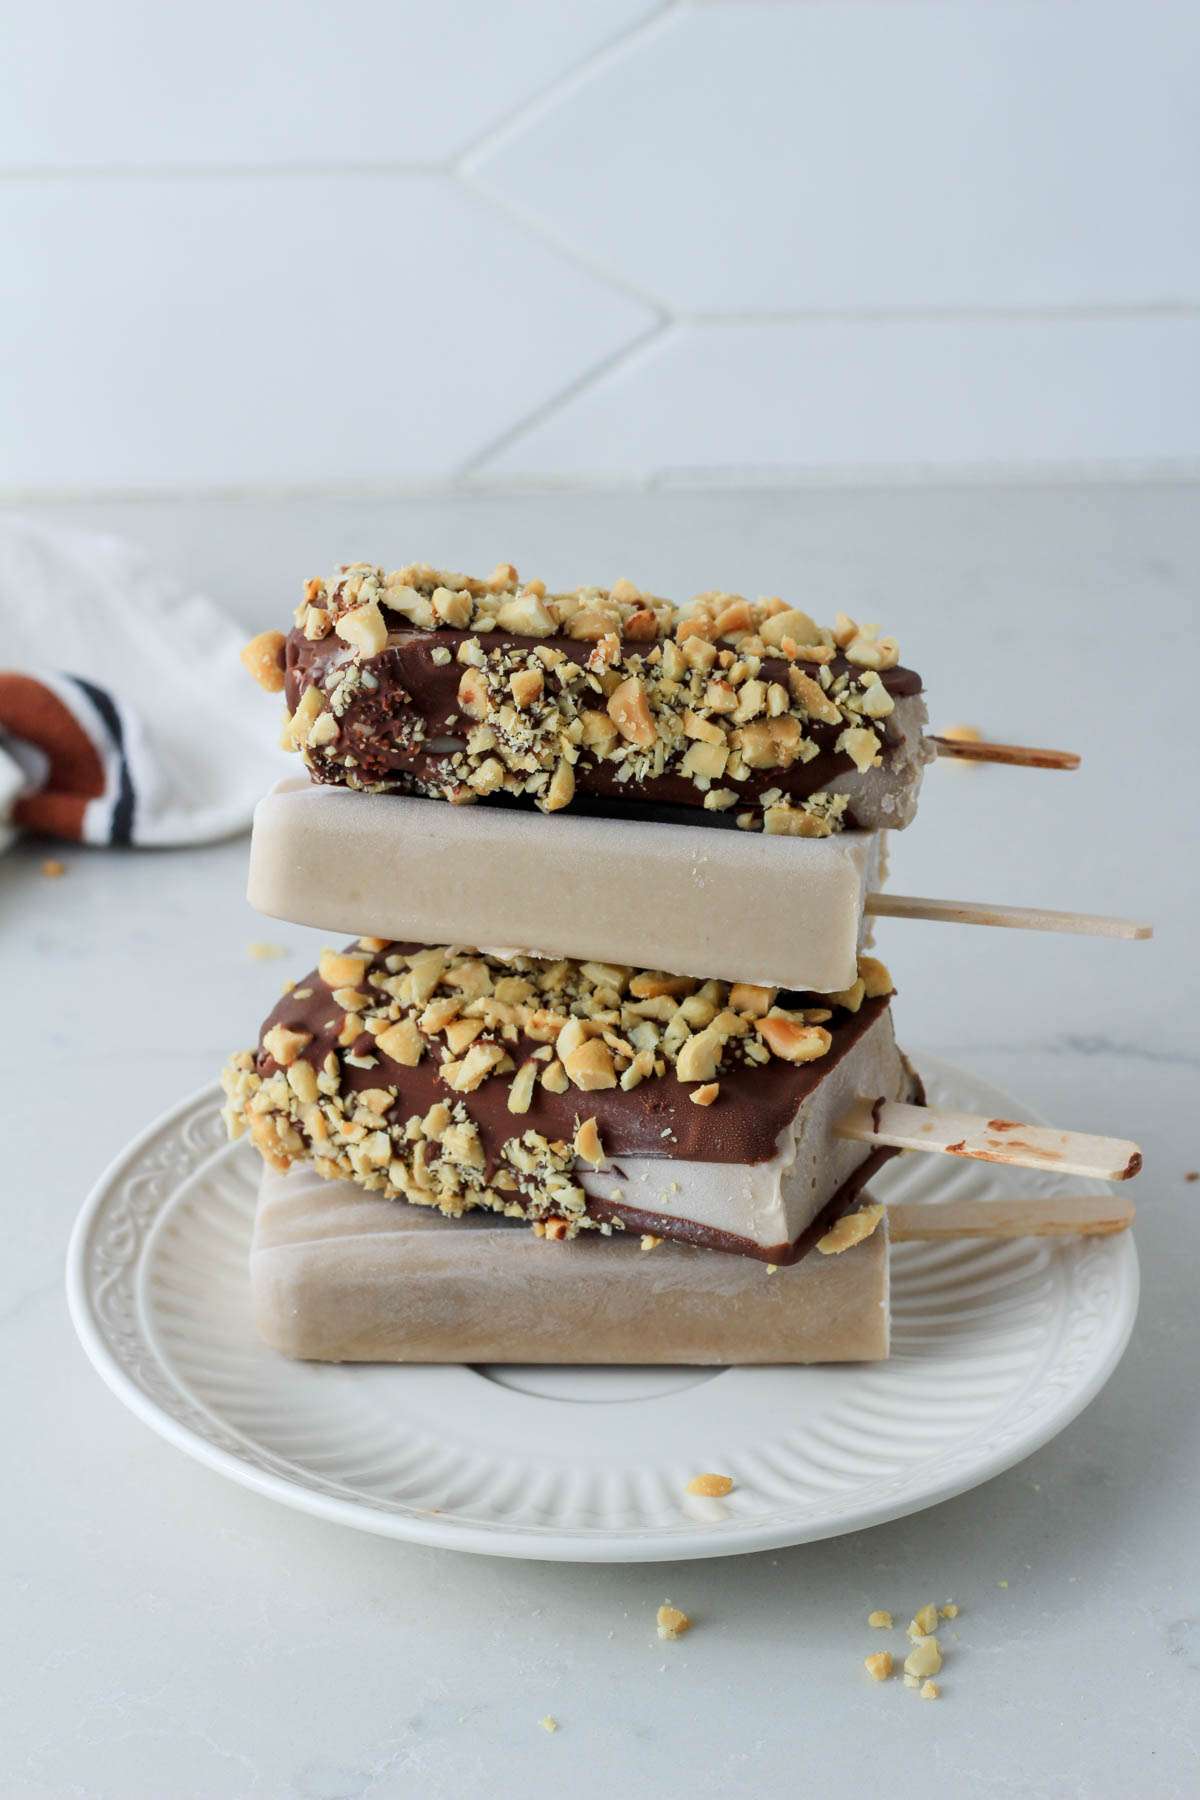
These creamy four ingredient peanut butter banana popsicles, are a sweet treat I can feel good about handing over to my littles. Made with whole ingredients like peanut butter, banana, and coconut milk, these simple popsicles are a guilt-free treat.
Why We Love These Creamy Peanut Butter Banana Popsicles
Four ingredients, creamy like ice cream, and flavorful, there’s not much we don’t love about these peanut butter banana popsicles. Some other reasons we keep them on hand include:
- Easy to make. Simply blend, pour, and freeze.
- Healthy and kid approved. With four whole ingredients and a delicious peanut butter and banana flavor you’re littles will also approve.
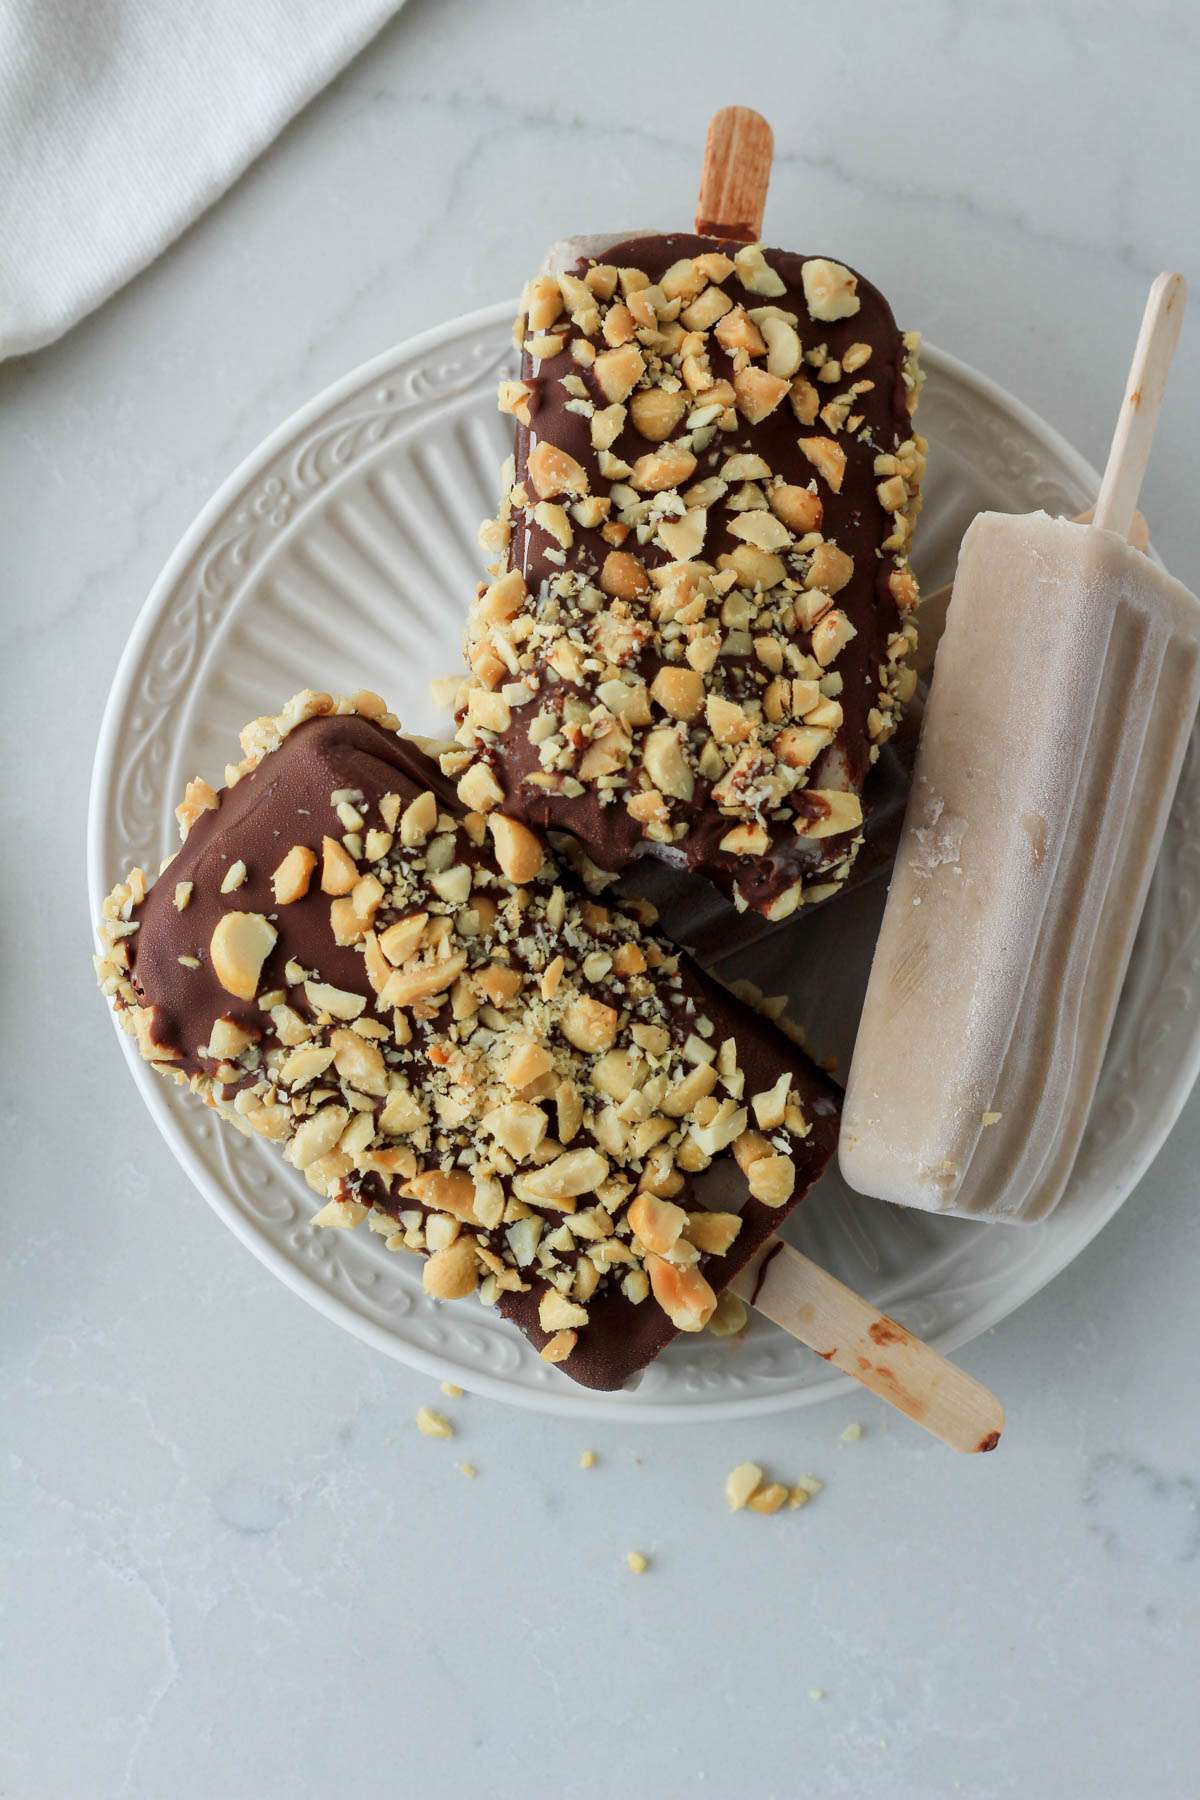
- Excellent as is, better dipped in chocolate.
Dairy-Free Ingredients in this Recipe
To make these heavenly ice cream-like popsicles there are two ingredients you need to keep them deliciously dairy-free.
- Coconut Milk– Full fat coconut milk (from the can) makes a creamy ice cream like base for these popsicles.
- Vegan Dark Chocolate Chips (optional)- To dip the frozen banana and peanut butter popsicles after they set. Some brands I have used and enjoy include:
How to Make Healthy Peanut Butter Banana Popsicles
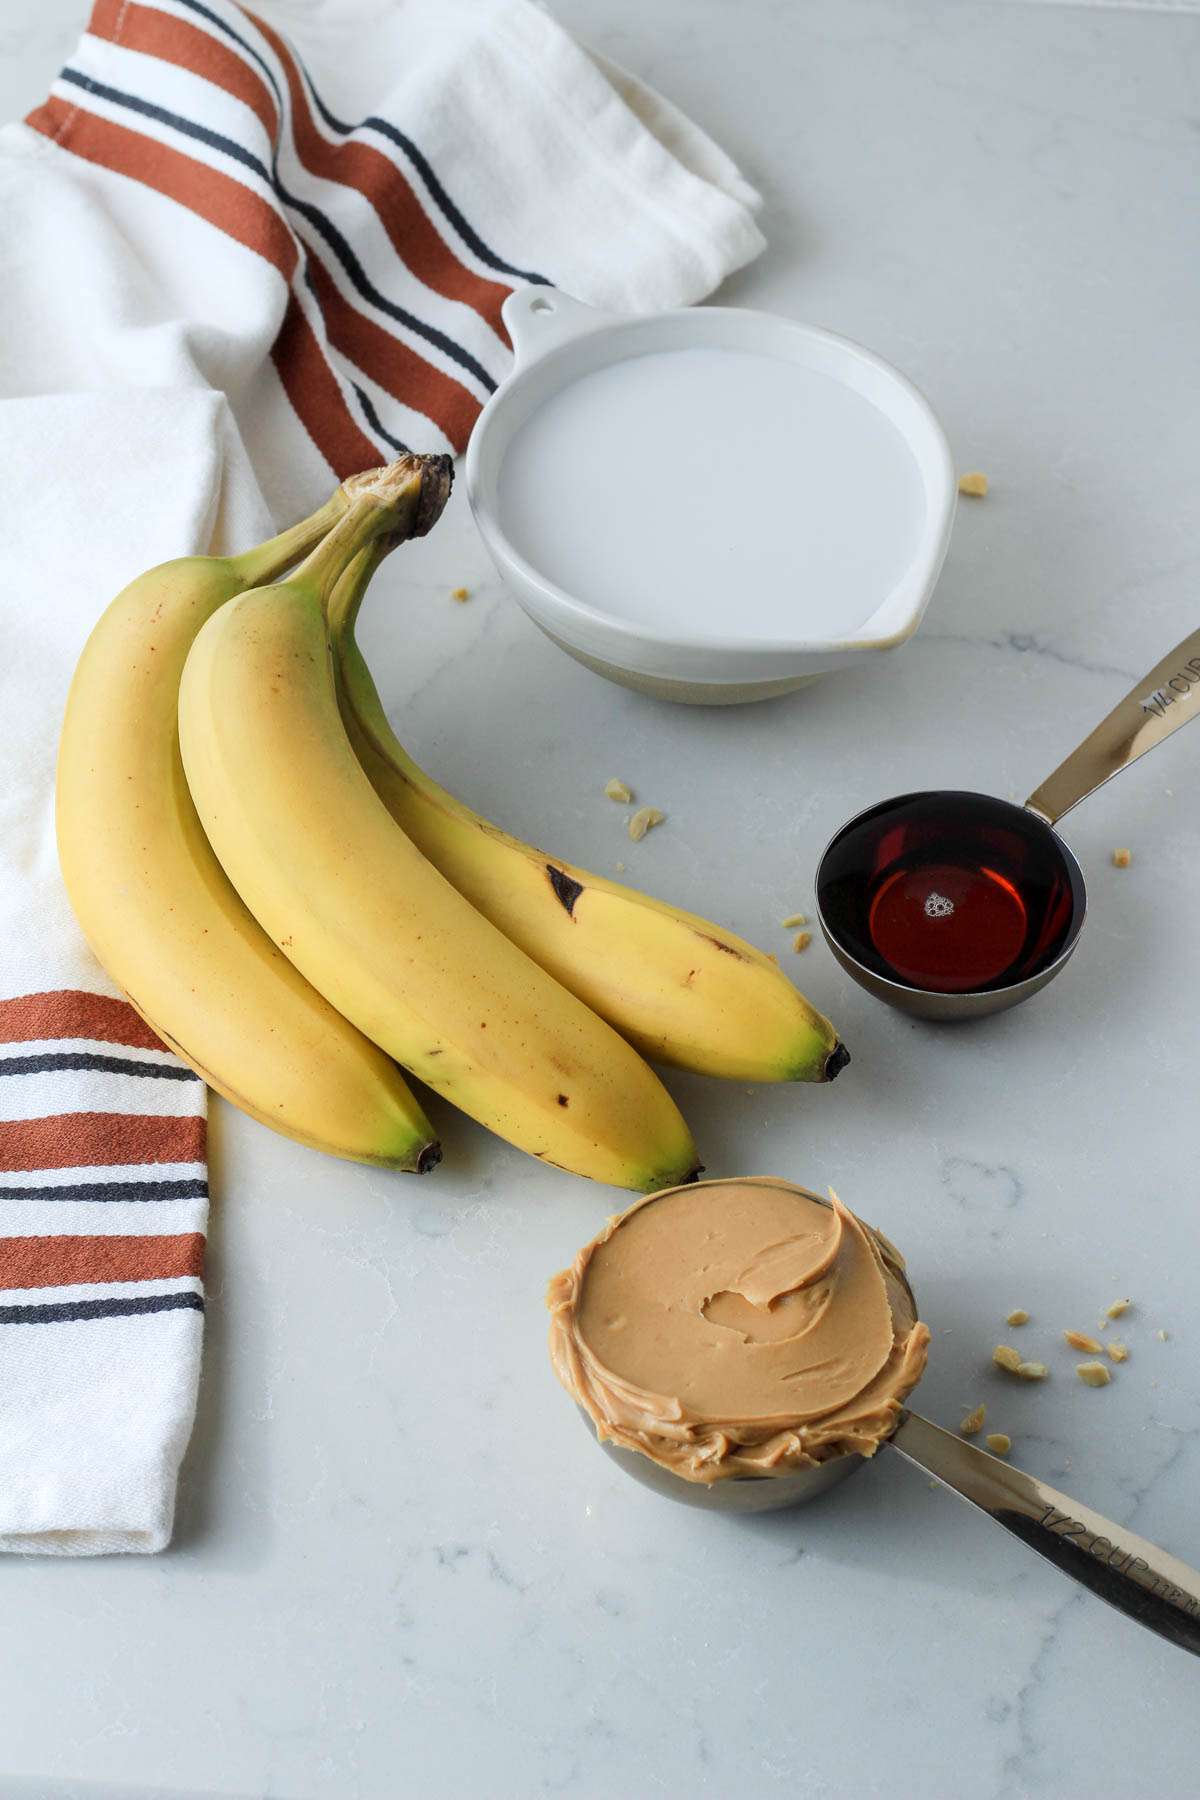
Ingredients You’ll Need
- Peanut Butter– I used a traditional creamy peanut butter.
- Banana– Ripe bananas work best but not like banana bread ripe.
- Coconut Milk– Full fat, from the can, coconut milk.
- Maple Syrup– Helps sweeten the popsicles a bit.
Step-by-Step Directions for Peanut Butter Banana Popsicles
- Blend: In a blender, blend peanut butter, banana, coconut milk, and maple syrup.
- Pour into a large popsicle mold.
- Add the lid and popsicle sticks.
- Freeze at least 8 hours before removing and enjoying.


The Works
I am a firm believer that if you can dip something in chocolate, you probably should. If you want to take these popsicles to the next level, here is how you dip and coat them.
- Melt: In a double broiler, melt vegan chocolate chips with coconut oil.
- Dip: Once melted, dip the frozen banana and peanut butter popsicles in the melted chocolate.
- You might need to use a rubber spatula to coat the sides or to remove any excess chocolate.
- Coat: Immediately dip the chocolate coating in any toppings you want.


Tasty Toppings
I photographed the recipe with crushed salted peanuts, some other ideas for decadent toppings include but are not limited to:
- Almond slivers
- Graham cracker crumbs
- Crushed Oreo crumbs
- Unsweetened shredded coconut
- Crushed ice cream cones
- Mini marshmallows
- Broken pieces of pretzels
Helpful Kitchen Tools
When you are ready to whip up a batch of these delicious peanut butter banana popsicles with coconut milk, here are some kitchen tools you might find helpful along the way.
- Blender– Used to mix the creamy popsicle mixture together.
- Popsicle Mold– Great for freezing the popsicles, easy removal, and simple clean up afterwards.
- Storage Container– Freezer safe and great for opening from frozen, this tub will keep your frozen treats safe and easy to access.
Peanut Butter Banana Popsicle FAQs
Can you use a different nut butter?
Yes. Simply swap the peanut butter out for almond, cashew, or sunflower butter.
Can you replace the coconut milk?
If you are not a fan of coconut milk you can try replacing with a heavy whipping cream like Country Crock’s plant cream. Alternatively you could use an extra creamy oat milk.
How long will these popsicles keep?
Stored in an air-tight freezer safe container, you can safely store these popsicles for up to 3 months.
Popsicle Recipes to Make Next
Looking for more ice-cream like popsicles to make next? Here are a few of my favorites you will want to try next!
If you tried this Peanut Butter Banana Popsicle recipe please let me know in the comments below!
You can also share a picture of it with me on Instagram by tagging @mylifeafterdairy so I can see all of your life after dairy adventures!
Looking for more delicious dairy-free recipes and tips? Sign up for my newsletter below to get the most helpful recipes, tips, and products for your life after dairy.

Peanut Butter Banana Popsicles
Vegan, dairy-free, and made with four ingredients, these peanut butter banana popsicles are a quick and healthy dessert you can dress up with a magic shell coating.
- Prep Time: 5 minutes
- Total Time: 8 hours 5 minutes
- Yield: 10 popsicles 1x
- Category: Dessert
- Cuisine: American
Ingredients
- 3 Bananas
- ½ cup Peanut Butter (creamy)
- 1 can Coconut Milk (full fat)
- ¼ cup Maple Syrup
Chocolate Dipped Coating
- 10 ounces Vegan Chocolate Chips
- ½ Tablespoon Coconut Oil
- 1 cup Chopped Peanuts
Instructions
- In a blender, blend ½ cup peanut butter, 3 ripe bananas, 1 can coconut milk, and ¼ cup maple syrup.
- Pour into a large popsicle mold.
- Add the lid and popsicle sticks.
- Freeze at least 8 hours before removing and enjoying.
Chocolate Coating
- In a double broiler, melt 10 ounces vegan chocolate chips with ½ Tablespoon coconut oil.
- Once melted, dip the frozen banana and peanut butter popsicles in the melted chocolate.
- You might need to use a rubber spatula to coat the sides or to remove any excess chocolate.
- Immediately dip the chocolate coating in any toppings you want.
Some of the links above contain Amazon affiliate links. These are products and brands I use in my kitchen daily. They pay me a small commission for the referral at no additional cost to you.