Juicy Grill Pan Chicken in the Kitchen
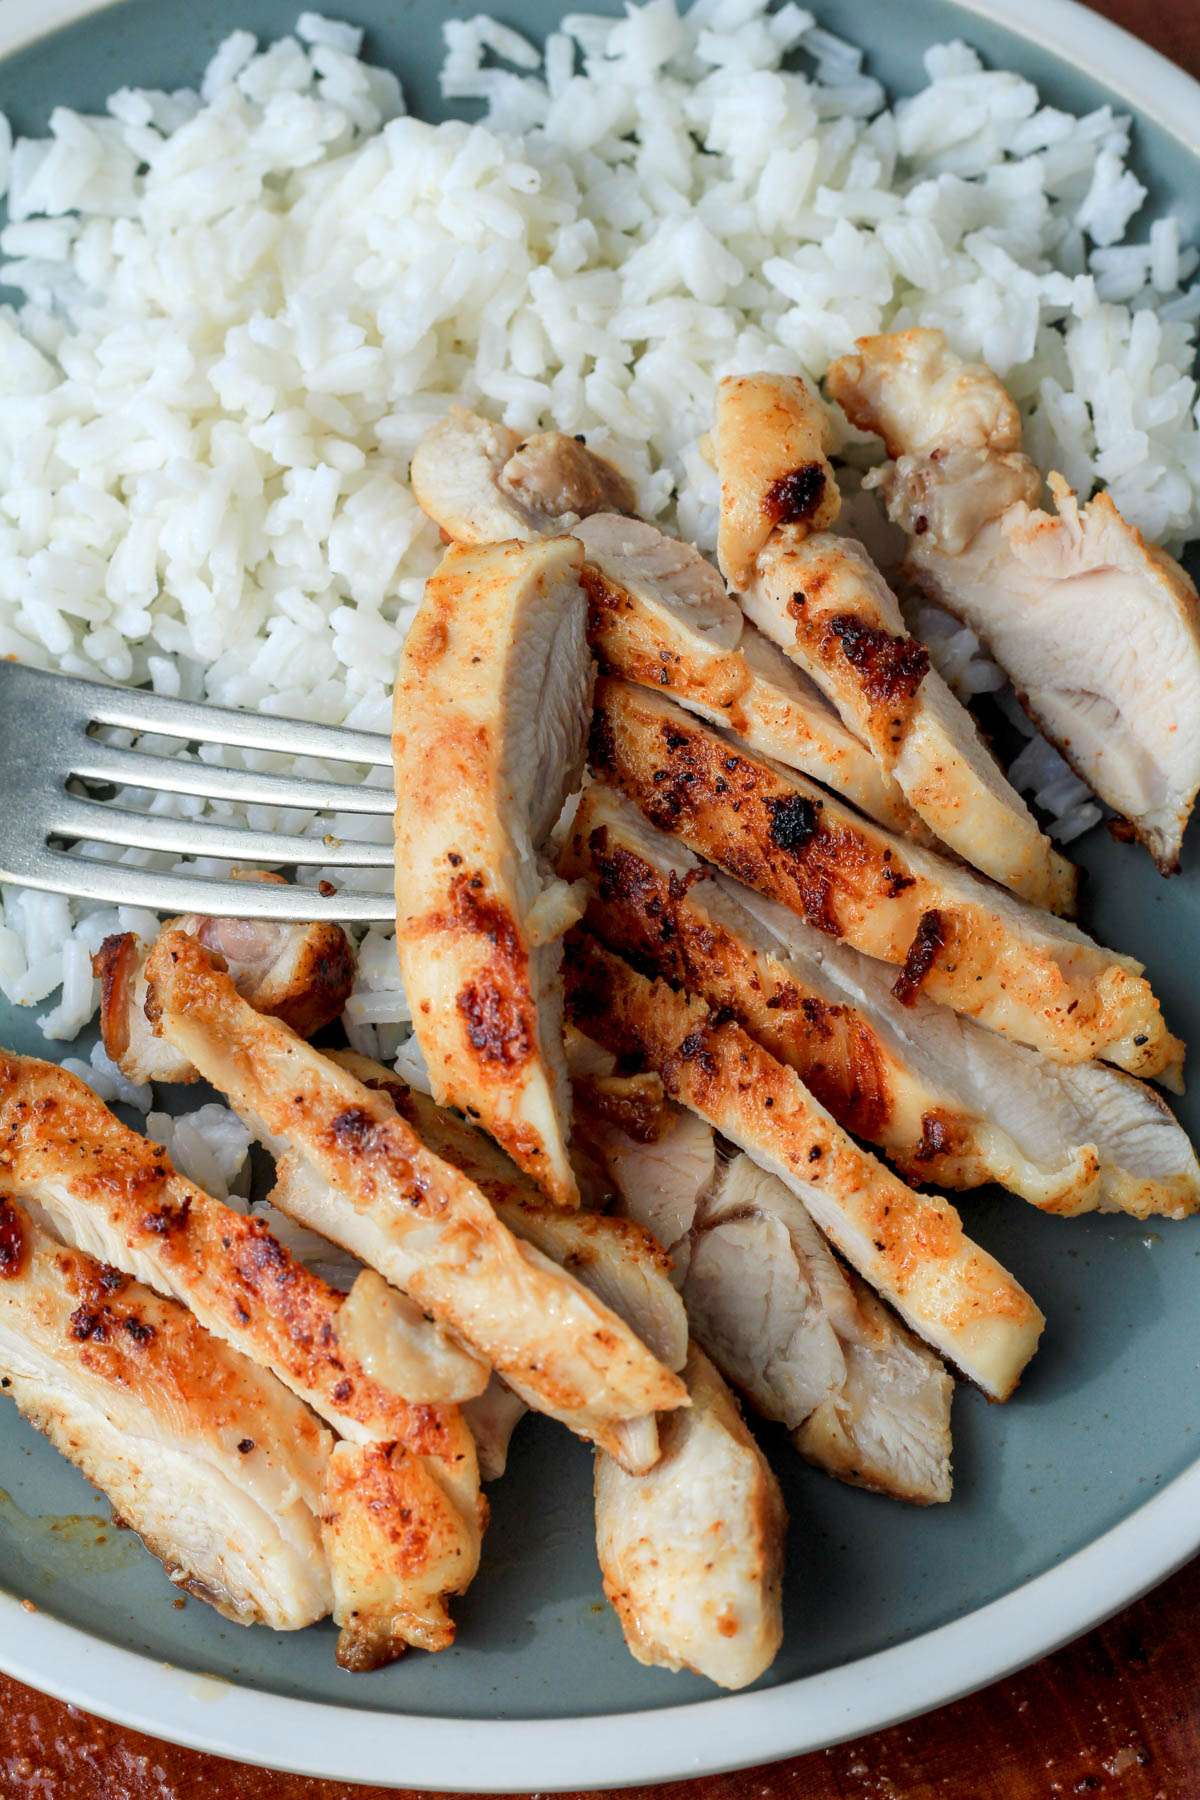
Juicy, flavorful, and ready in under 30 minutes, this simple recipe for grill pan chicken thighs is the perfect weeknight dinner recipe. Learn how to cook juicy chicken thighs from the comfort of your kitchen with the help of a non-stick grill pan.
My love affair with the grill pan began in 2012. I was a first year school teacher living in an apartment needing an easy way to make healthier lunches without having to go out to the communal grills at the apartment complex.
My cousin Lizzy (of Lizzy’s Oreo Turkey Cookies) gave me a grill pan as a college graduation gift and it is the same grill pan I use to this day.
While my first attempts using the grill pan resulted in some pretty dried out chicken breasts, I picked up some helpful knowledge along the way. For example chicken thighs will always yield a better grilled chicken than chicken breasts…
While I have since obtained an outdoor grill, I still find the simplicity, consistency, and overall ease of using the grill pan to be a more enjoyable experience. Which is why I am very excited to share with you how to make simple, juicy chicken thighs in a grill pan in your kitchen.
Why We Love Making Chicken on the Grill Pan
I honestly could write about a dozen different reasons why I love making these chicken thighs on the grill pan. I will cap myself at the top 4 but know that my list goes on and on.
- Naturally a dairy-free recipe. No swaps or substitutions needed to yield the most succulent chicken thighs.
- Easy to cook any time of year. Unlike with your outdoor grill, the grill pan is not subject to the changes in the weather.
- Consistent cook times. Because you are able to control the temperature level on your skillet, you don’t have too much guess work when it comes to how long it will take to cook your chicken thighs.
- No marinating. Simply oil, season, and grill!
Helpful Tips for Making Juicy Grill Pan Chicken in the Kitchen
As previously mentioned, there have been quite a few tips I have picked up in my 13 years of cooking chicken on the grill pan. For starters:
- Pre-heat the pan for about 5 minutes before you place the chicken down to cook.
- Turn your vents, fans, or down drafts on before you place the chicken on the pan.
- Place the larger thighs down in the pan first, then fill in the space with the smaller thighs.
- Do not over-crowd the pan. Simply cook in batches if you are making more than 5-6 thighs.
- Check the internal temperature of the smaller thighs sooner than the larger thighs.
- Clean the pan quickly after cooking, or at least get the cleaning process started right away. I like to simply pour hot water into the pan and let it rest/cool while we eat to make the cleaning process easier.
How to Make Juicy Grill Pan Chicken Thighs
Ingredients You’ll Need
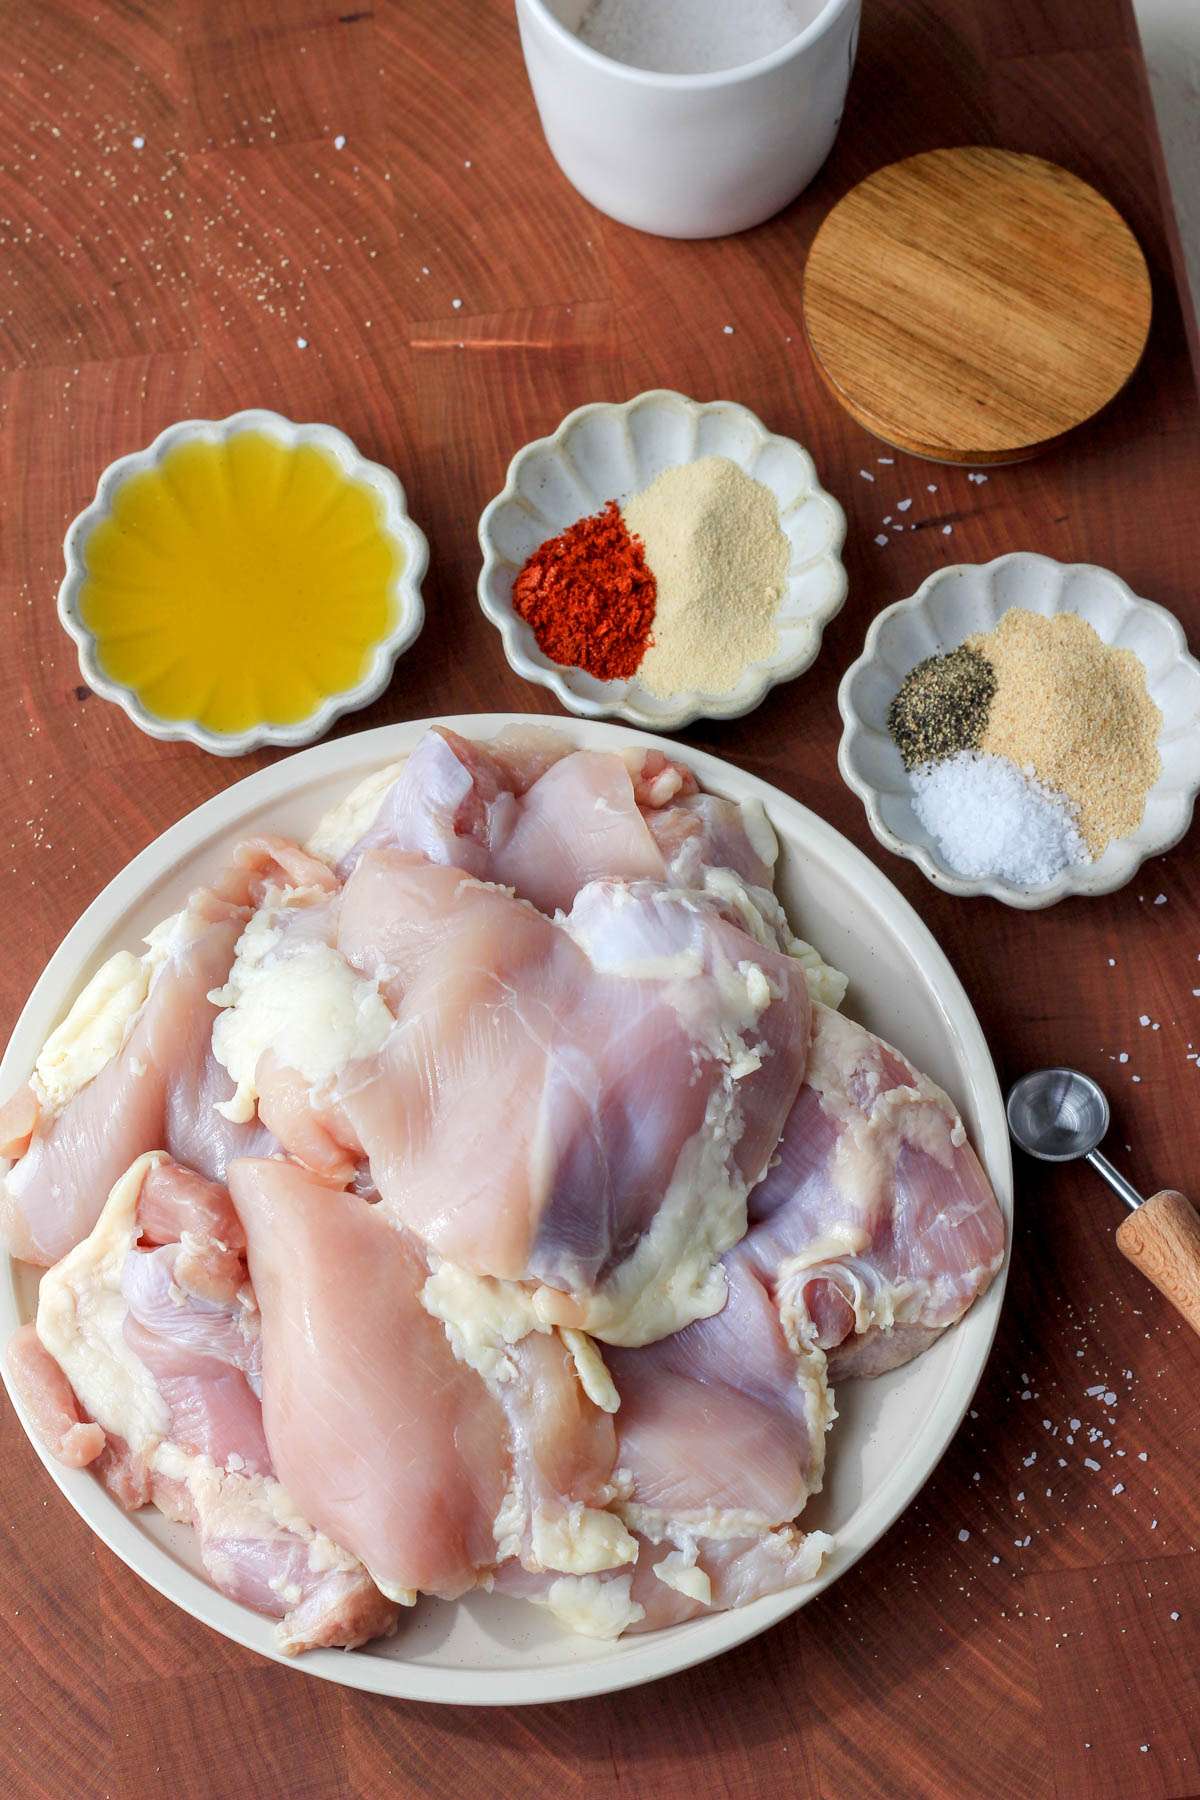
- Boneless, Skinless Chicken Thighs– These are the quickest to cook up, always juicy, and simply my favorite cut of chicken to work with.
- Olive Oil– Used to coat the chicken thighs and help the seasoning blend stick to the chicken thighs.
- Spices– A simple blend of onion powder, garlic powder, salt, pepper, and paprika season these chicken thighs.
Step-by-Step Directions for Juicy Chicken on the Grill Pan
- Preheat the pan: Heat your nonstick grill pan over medium heat for about 5 minutes to preheat.
- Mix seasoning: In a small bowl stir together onion powder, garlic powder, salt, paprika, and pepper. Set this aside.
- Oil the chicken: Next, coat the boneless skinless chicken thighs with olive oil.
- Tip: I typically pour 1 Tablespoon over the tops and rub them in, then flip the chicken over and pour 1 Tablespoon over the bottoms and rub it in.
- Season: Using a ¼ teaspoon, sprinkle about ¼ teaspoon of the seasoning blend on each top and bottom of each chicken thigh.


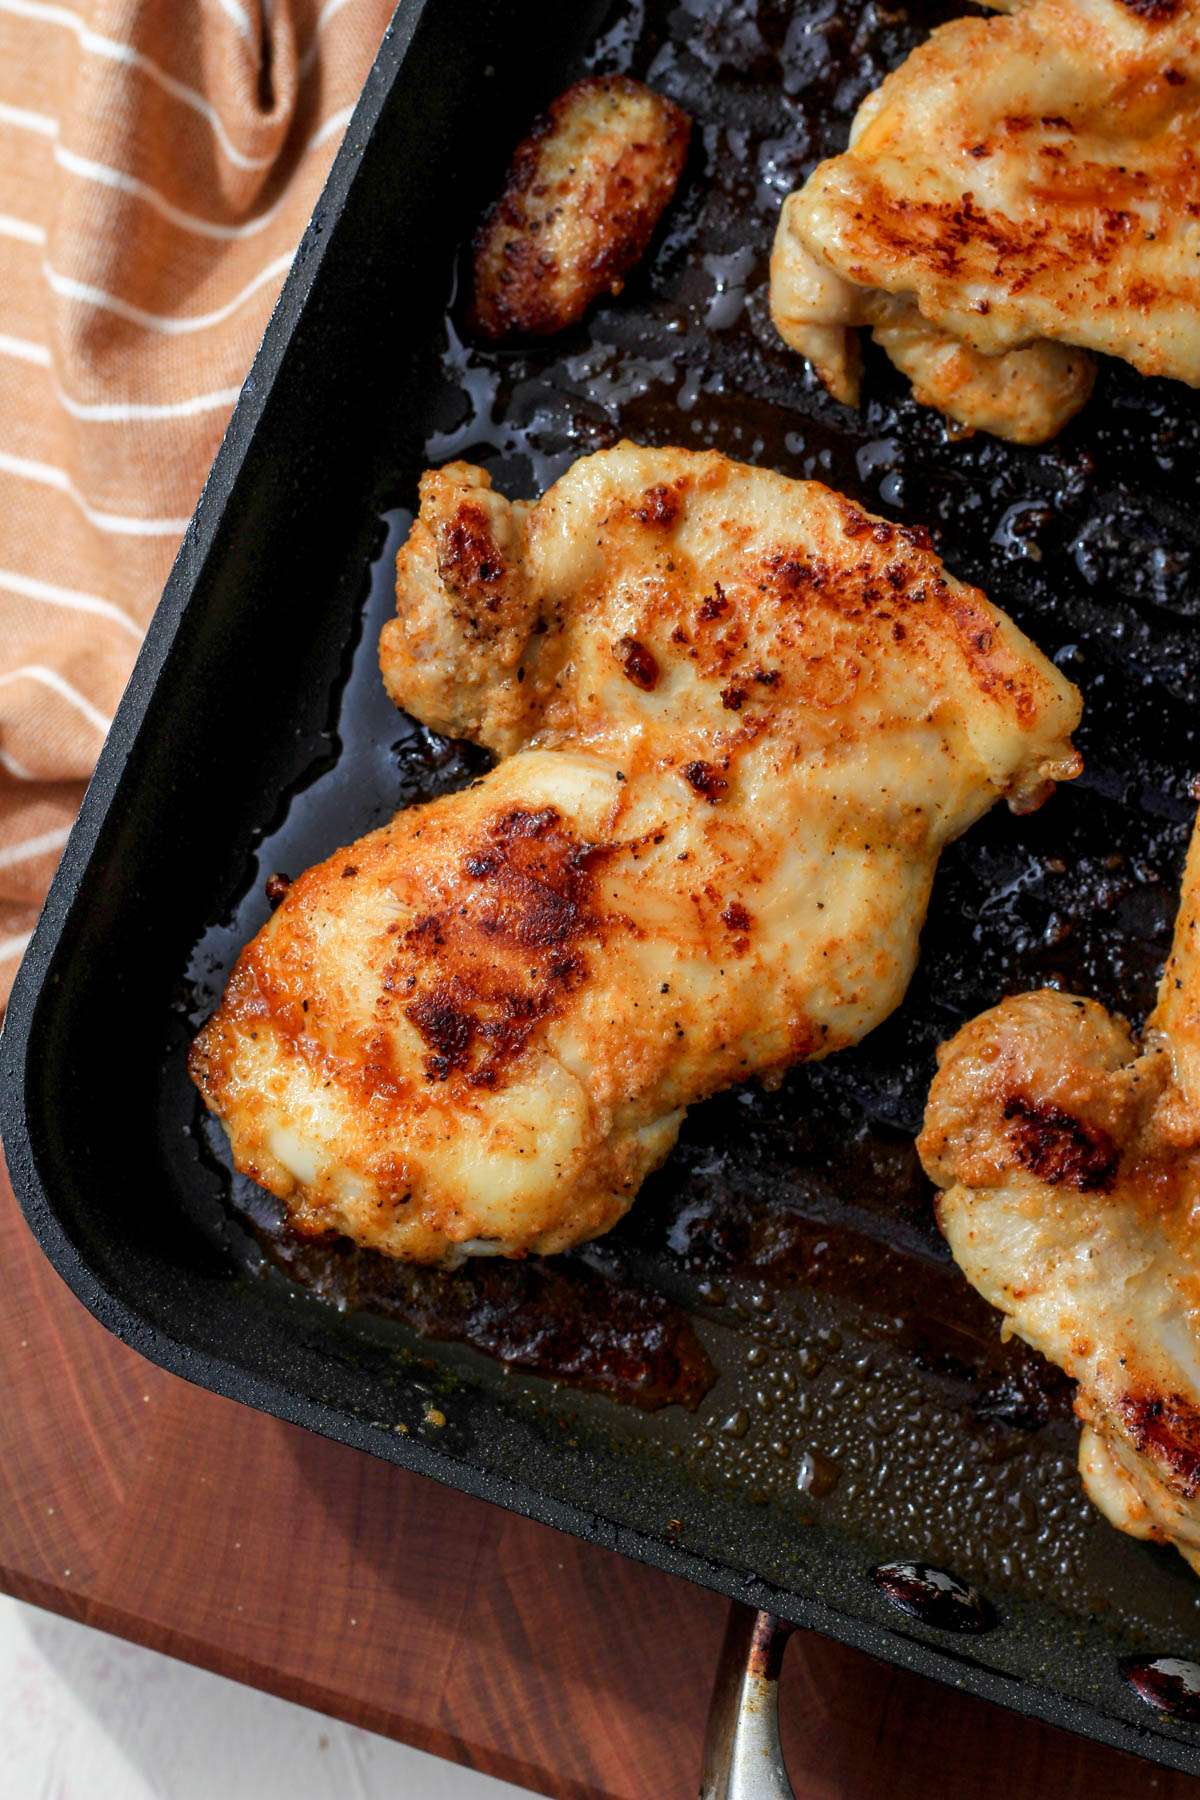
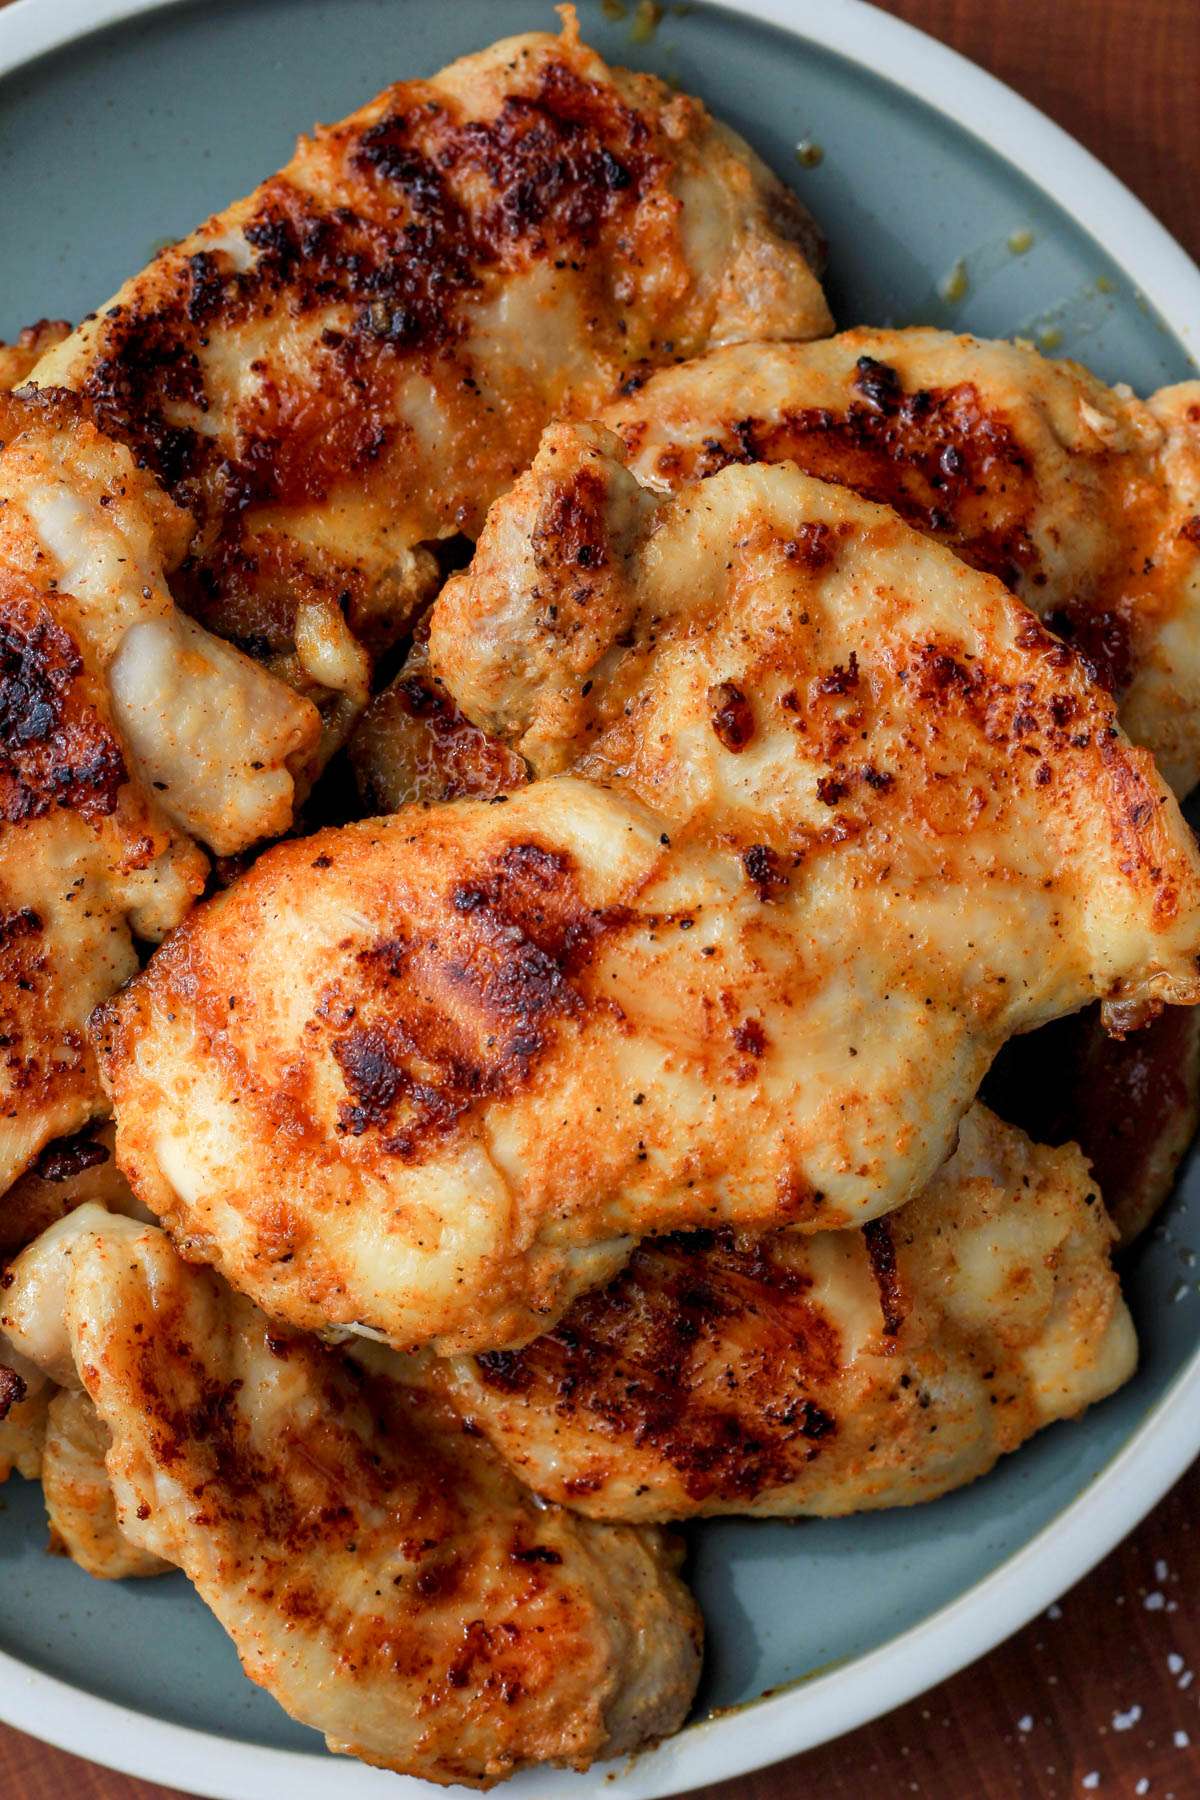
- Cook first side: Place the chicken in the preheated grill pan, laying them out as flat as you can. Cook for 8 minutes.
- Flip: After 8 minutes, flip the chicken thighs and cook for an additional 7 minutes.
- Check temperature: Begin checking the internal temperature of the smaller thighs around 5 minutes after the flip to see if they are 165°F.
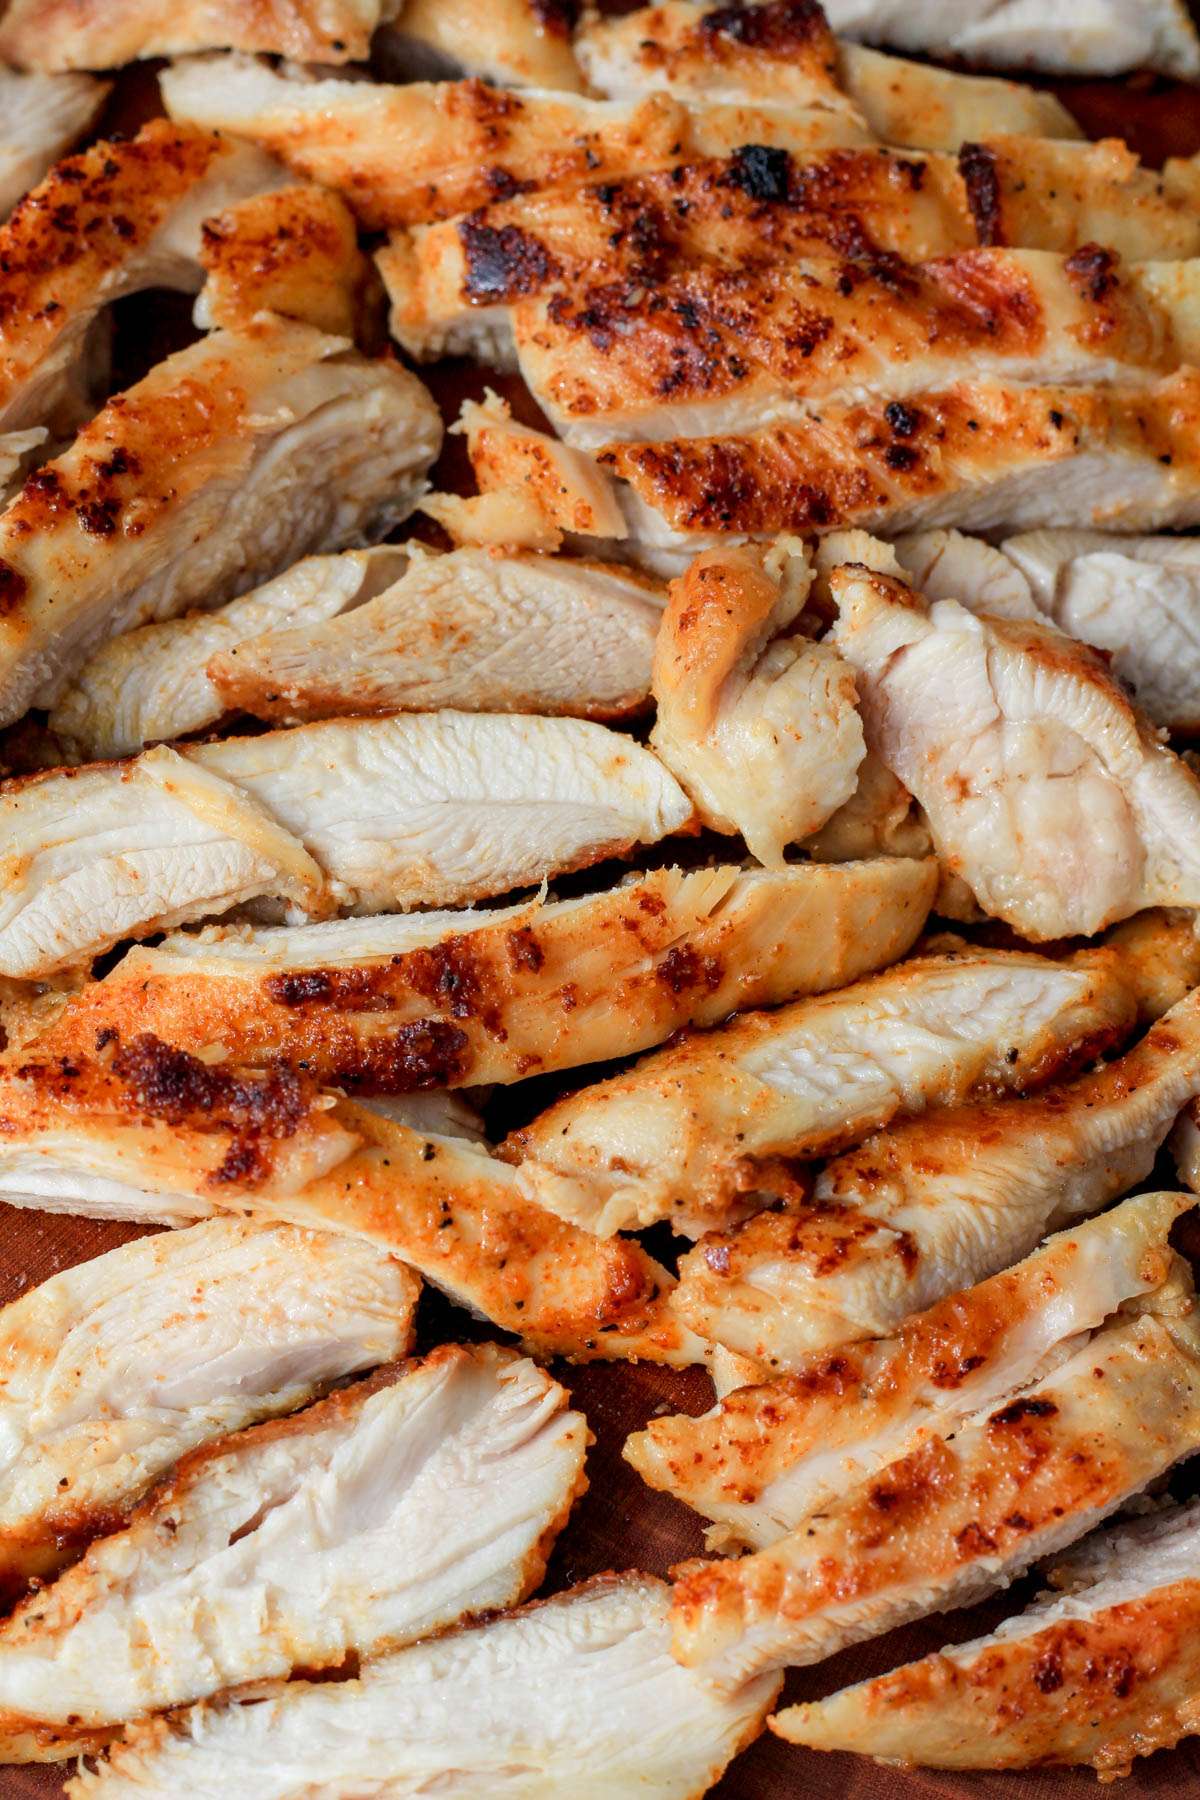
- Rest chicken: Once the thickest part of the chicken thigh reaches 165°F remove from the grill pan and allow the chicken to rest on a plate while the remaining pieces finish cooking.


Great Grill Pans to Make this Juicy Chicken Thigh Recipe
The most important piece of equipment for this recipe is using a trusty non-stick grill pan. The one I have been using for 13 years is a Calphalon non-stick grill pan which looks like it might not be on the market anymore.
Some other brands I know and trust when it comes to kitchen pans include:
- All-Clad– This pan looks almost identical to the one I use and has excellent ratings.
- Cooks Standard– Also a non-stick pan with the highest ratings for ease of cleaning.
- Ninja Foodi– Top rated for cleaning as well as non-stick and oven safe.
What to Serve with Juicy Grilled Chicken Thighs
If you are looking to turn this grilled chicken into a whole meal, these sides will pair perfectly with them:
- Asparagus Risotto
- Long Grain Rice
- Vegan Baked Feta Pasta
- Vegan Green Bean Casserole
- Lemon Basil Risotto
- Twice Baked Potatoes
If your plan for these juicy chicken thighs was to make them as part of another recipe, they would go perfectly in:
Storing and Reheating Grilled Chicken Thighs
After cooking your chicken thighs on the grill pan from the comfort of your own kitchen, you can either serve them up right away or use them as meal prep for the week. Here are some tips for storing and reheating these juicy chicken thighs.
- Storing– Allow the chicken thighs to cool and place in an air-tight refrigerator safe container for up to 4 days.
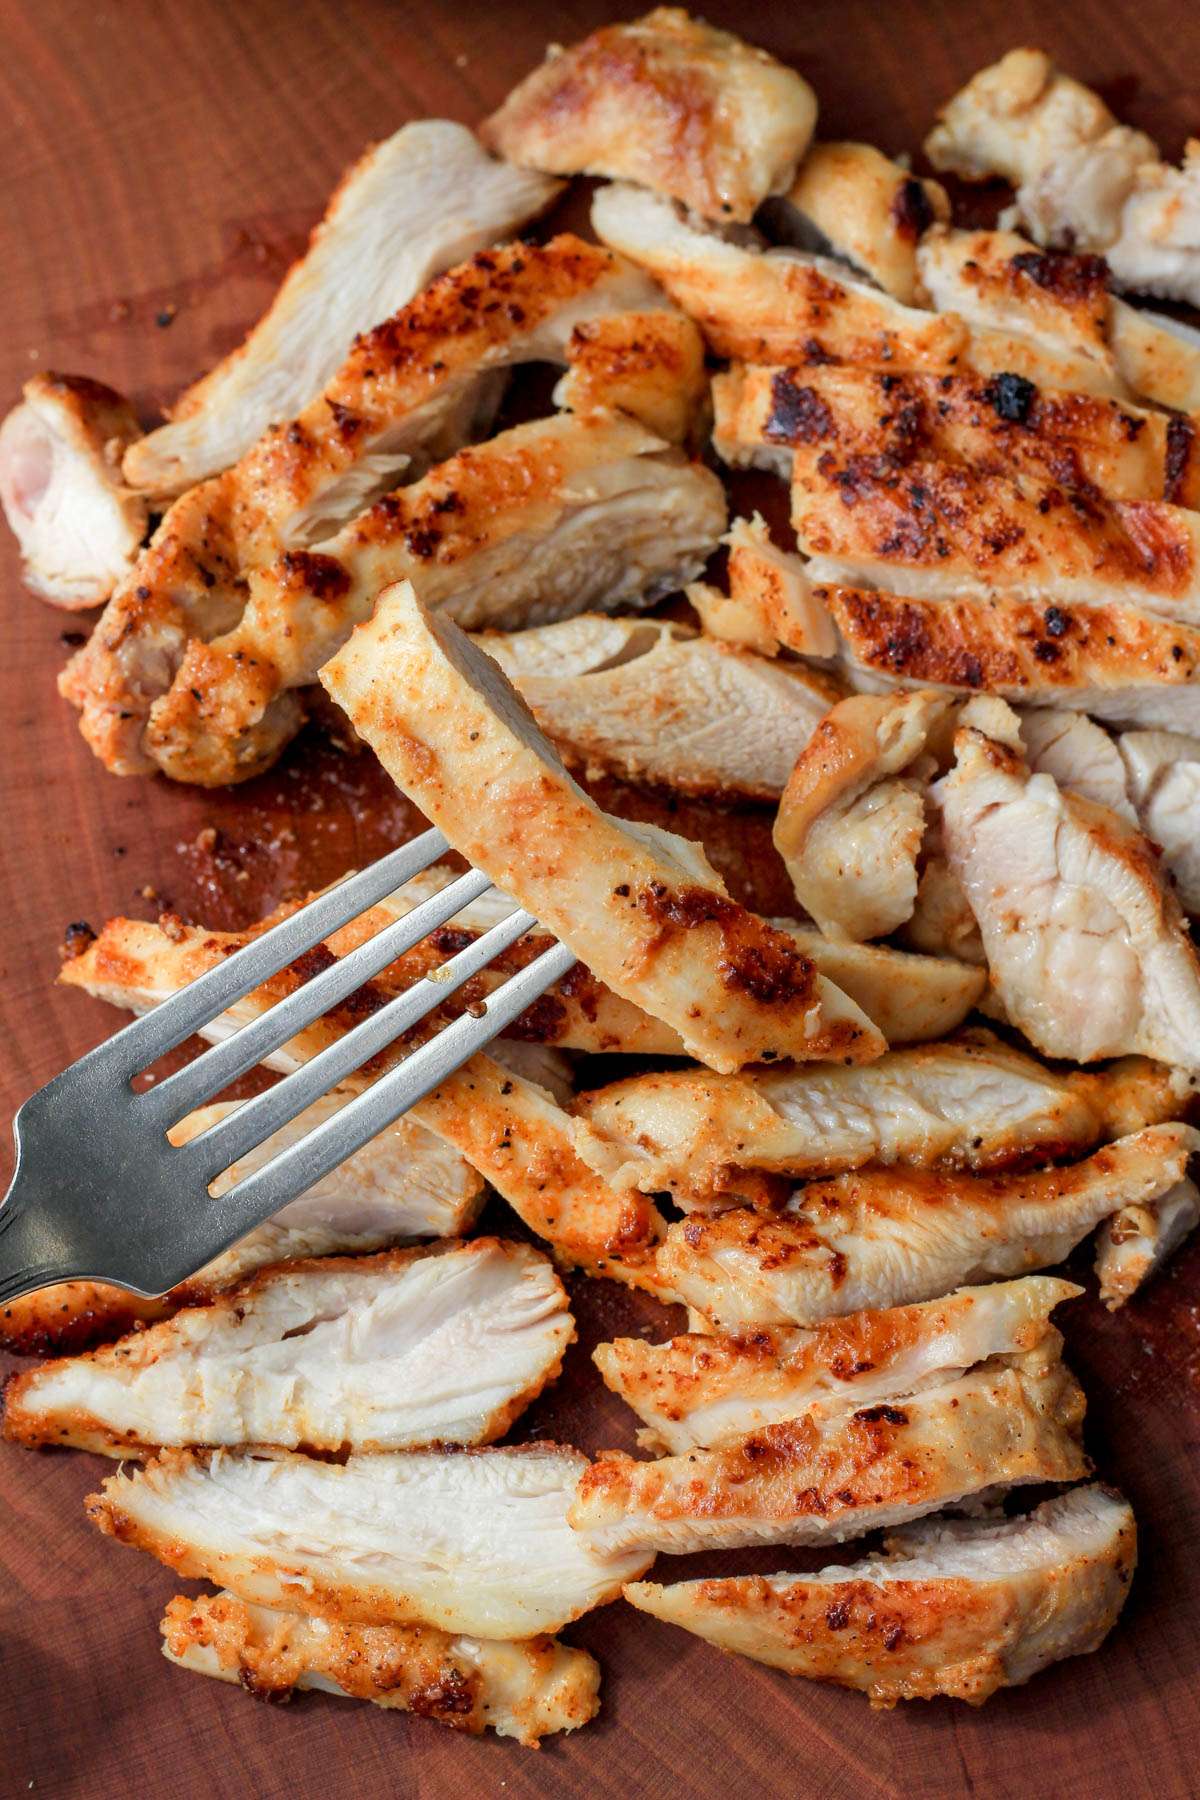
- Reheating– I typically re-heat these chicken thighs in the microwave at 30 second intervals. I find it is easier to re-heat without drying them out if you pre-cut the chicken to avoid long microwaving times.
Chicken Thigh Recipes to Make Next
I have been dishing out a number of different marinated chicken thigh recipes on the site for years. Here are some of my favorite to make on the grill pan in the kitchen:
- Greek Marinated Chicken Thighs
- Italian Marinated Grilled Chicken Thighs
- Soy Marinated Chicken Thighs
If you tried this juicy grill pan chicken thigh recipe please let me know in the comments below!
You can also share a picture of it with me on Instagram by tagging @mylifeafterdairy so I can see all of your life after dairy adventures!
Looking for more delicious dairy-free recipes and tips? Sign up for my newsletter below to get the most helpful recipes, tips, and products for your life after dairy.
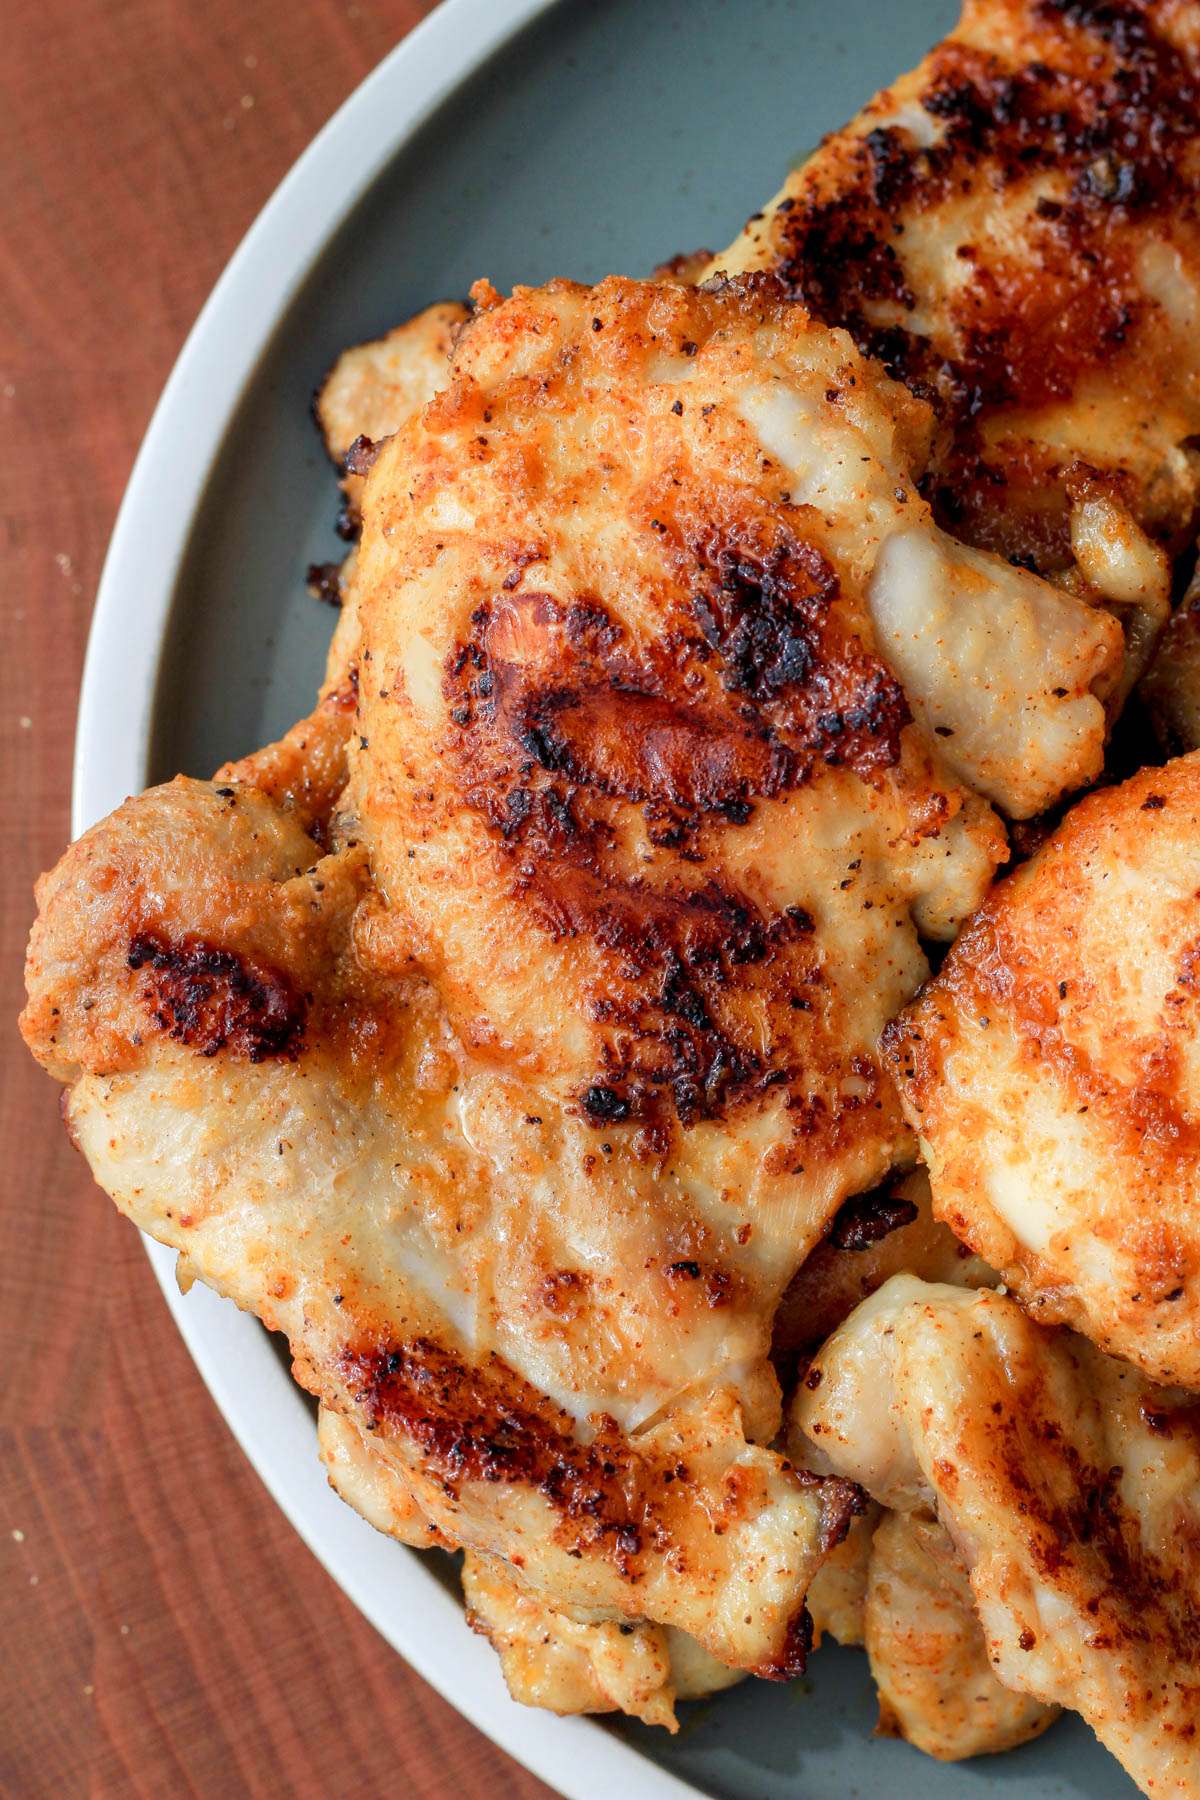
Juicy Grill Pan Chicken Thighs
Learn how to make deliciously juicy and flavorful chicken thighs in the kitchen using a grill pan on the stove. This 20 minute recipe for chicken thighs simplifies your quick and healthy meal prep.
- Prep Time: 5
- Cook Time: 15
- Total Time: 20 minutes
- Yield: 5–6 chicken thighs 1x
Ingredients
- 1 ½– 2 pounds Boneless, Skinless Chicken Thighs
- 2 Tablespoons Olive Oil
- 1 teaspoon Onion Powder
- 1 teaspoon Garlic Powder
- ½ teaspoon Salt
- ½ teaspoon Paprika
- ¼ teaspoon Pepper
Instructions
- Heat your nonstick grill pan over medium heat for about 5 minutes to preheat.
- While you are preheating your grill pan, make the seasoning blend.
- In a small bowl stir together 1 teaspoon onion powder, 1 teaspoon garlic powder, ½ teaspoon salt, ½ teaspoon paprika, and ¼ teaspoon pepper. Set this aside.
- Next, coat the boneless skinless chicken thighs with olive oil.
- I will pour 1 Tablespoon over the tops and rub them in, then flip the chicken over and pour 1 Tablespoon over the bottoms and rub it in.
- Using a ¼ teaspoon, sprinkle about ¼ teaspoon of the seasoning blend on each top and bottom of each chicken thigh. If you have left overs go back and sprinkle more on some of the larger ones or on areas the seasoning missed to get them coated.
- Place the chicken in the preheated grill pan, laying them out as flat as you can. Cook for 8 minutes.
- After 8 minutes, flip the chicken thighs and cook for an additional 7 minutes.
- Begin checking the internal temperature of the smaller thighs around 5 minutes after the flip to see if they are 165°F. Once the thickest part of the chicken thigh reaches 165°F remove from the grill pan and allow the chicken to rest on a plate while the remaining pieces finish cooking.
Some of the links above contain Amazon affiliate links. These are products and brands I use in my kitchen daily. They pay me a small commission for the referral at no additional cost to you.