How to Dry Fresh Basil
Learning how to dry fresh basil during the summer and fall will ensure you have a stash of flavorful dried basil all winter long. With instructions for pruning, cleaning, baking or air drying, there is sure to be a method to help you with your basil harvest.
An over abundance of basil is never a terrible thing to have. While I enjoy making fresh basil tea, spinach and basil pesto, and lemon basil risotto during the summer months, when the harvest time is coming to an end, I spend a good deal of time drying out the basil for the winter.
In this post I want to share with you a few tips for success along the way. We will look at how to prune your fresh basil, tips for cleaning basil leaves, and how to dry your basil leaves in the oven as well as on the counter.

Why We Love Drying Out Our Basil
At the end of the summer season, there is nothing more depressing than watching all of your summer crops slowly decrease production and die. We love harvesting and drying out the basil because:
- Keeps a fresh stock of dried basil in the pantry all winter long.
- Great for making dried basil tea.
- Perfect for using in place of jarred basil in recipes.
- The kids love picking the basil off the plants which makes it the perfect activity for all ages!
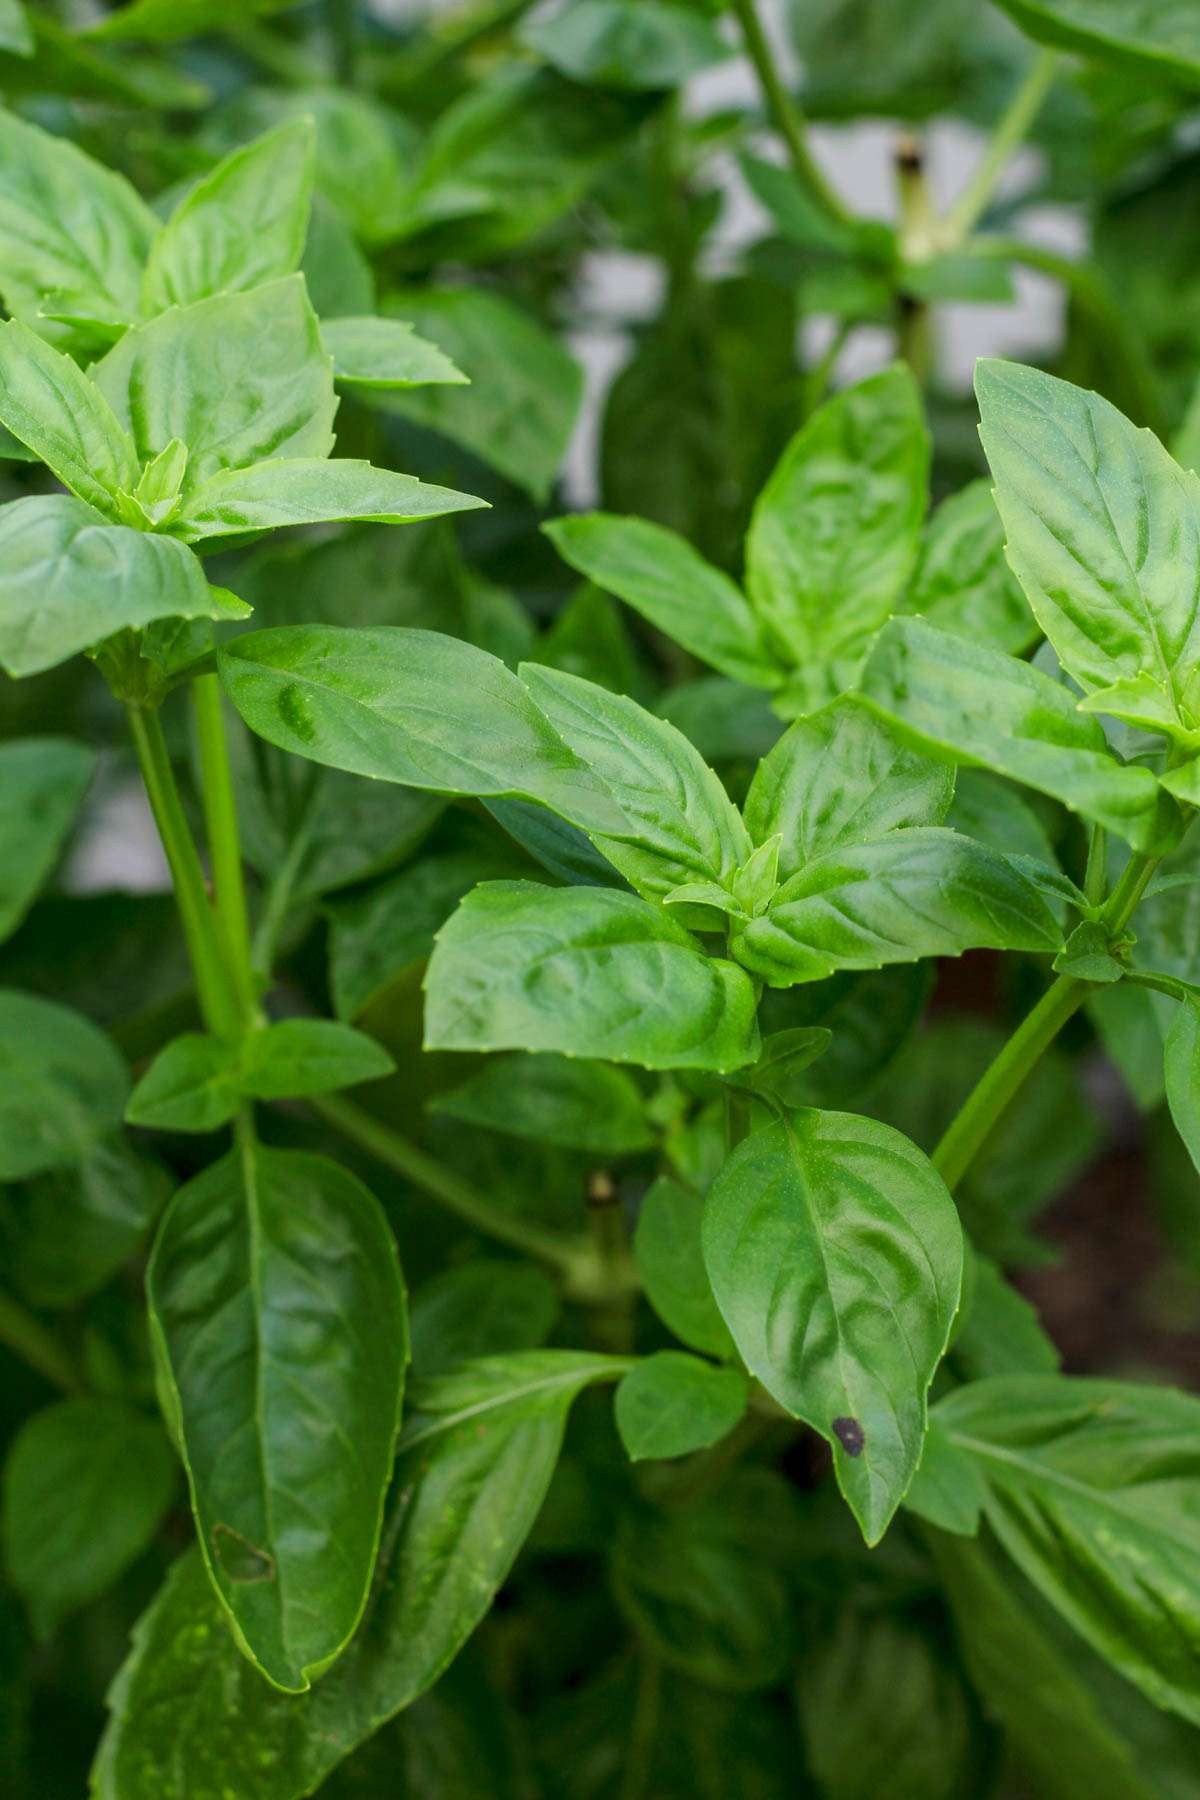
When Should You Prune Your Basil Plant?
As pictured above, I truly let my basil plants run wild at the end of the summer. Here are a few tips to keep your basil at bay and when to start pruning the plant.
- Start pruning when the plant reaches about 6-8 inches tall. This will encourage branching resulting in a bushier basil plant.
- Try to keep your plants at their peak flavor by pruning before they flower.
- During the hotter months the plant will try to flower often, pinch back the flowering stalks as you see them if you don’t have time to do a full prune.
Two Methods for Drying Fresh Basil
How to Clean Fresh Basil
Once you have pruned the basil you are planning to use or dry you will want to pick the leaves from the stalks and clean them.
- Cut the basil back from the plant. I typically cut about 1/4 inch above a set of two leaves.
- Remove the leaves from the stems.
- Repeat with the remaining stalks of basil until all pruned stalks have been picked clean.


- Wash the basil in cold water until clean.
- Lay out the basil pieces on clean dish towels to dry.
- I like to leave the basil on the dish towel to dry overnight but if you do not have the time or resources to leave a cloth of basil out all night long, use a second clean dish towel and gently press down on top of the basil to dry both sides before baking.


Drying Basil in the Oven
Now that you have clean basil there are two methods you can try for drying out the basil. The first is the quickest and takes up less space around the house.
- Preheat the oven to the lowest temperature it will go to. For our oven it’s 170°F.
- Place the washed and dried basil on a parchment paper lined rimmed baking sheet in one even layer.
- Bake the basil in the preheated oven for 45-60 minutes or until all of the pieces are dried to the touch.
- Remove from the oven and allow to cool completely before placing in a long term storage solution.


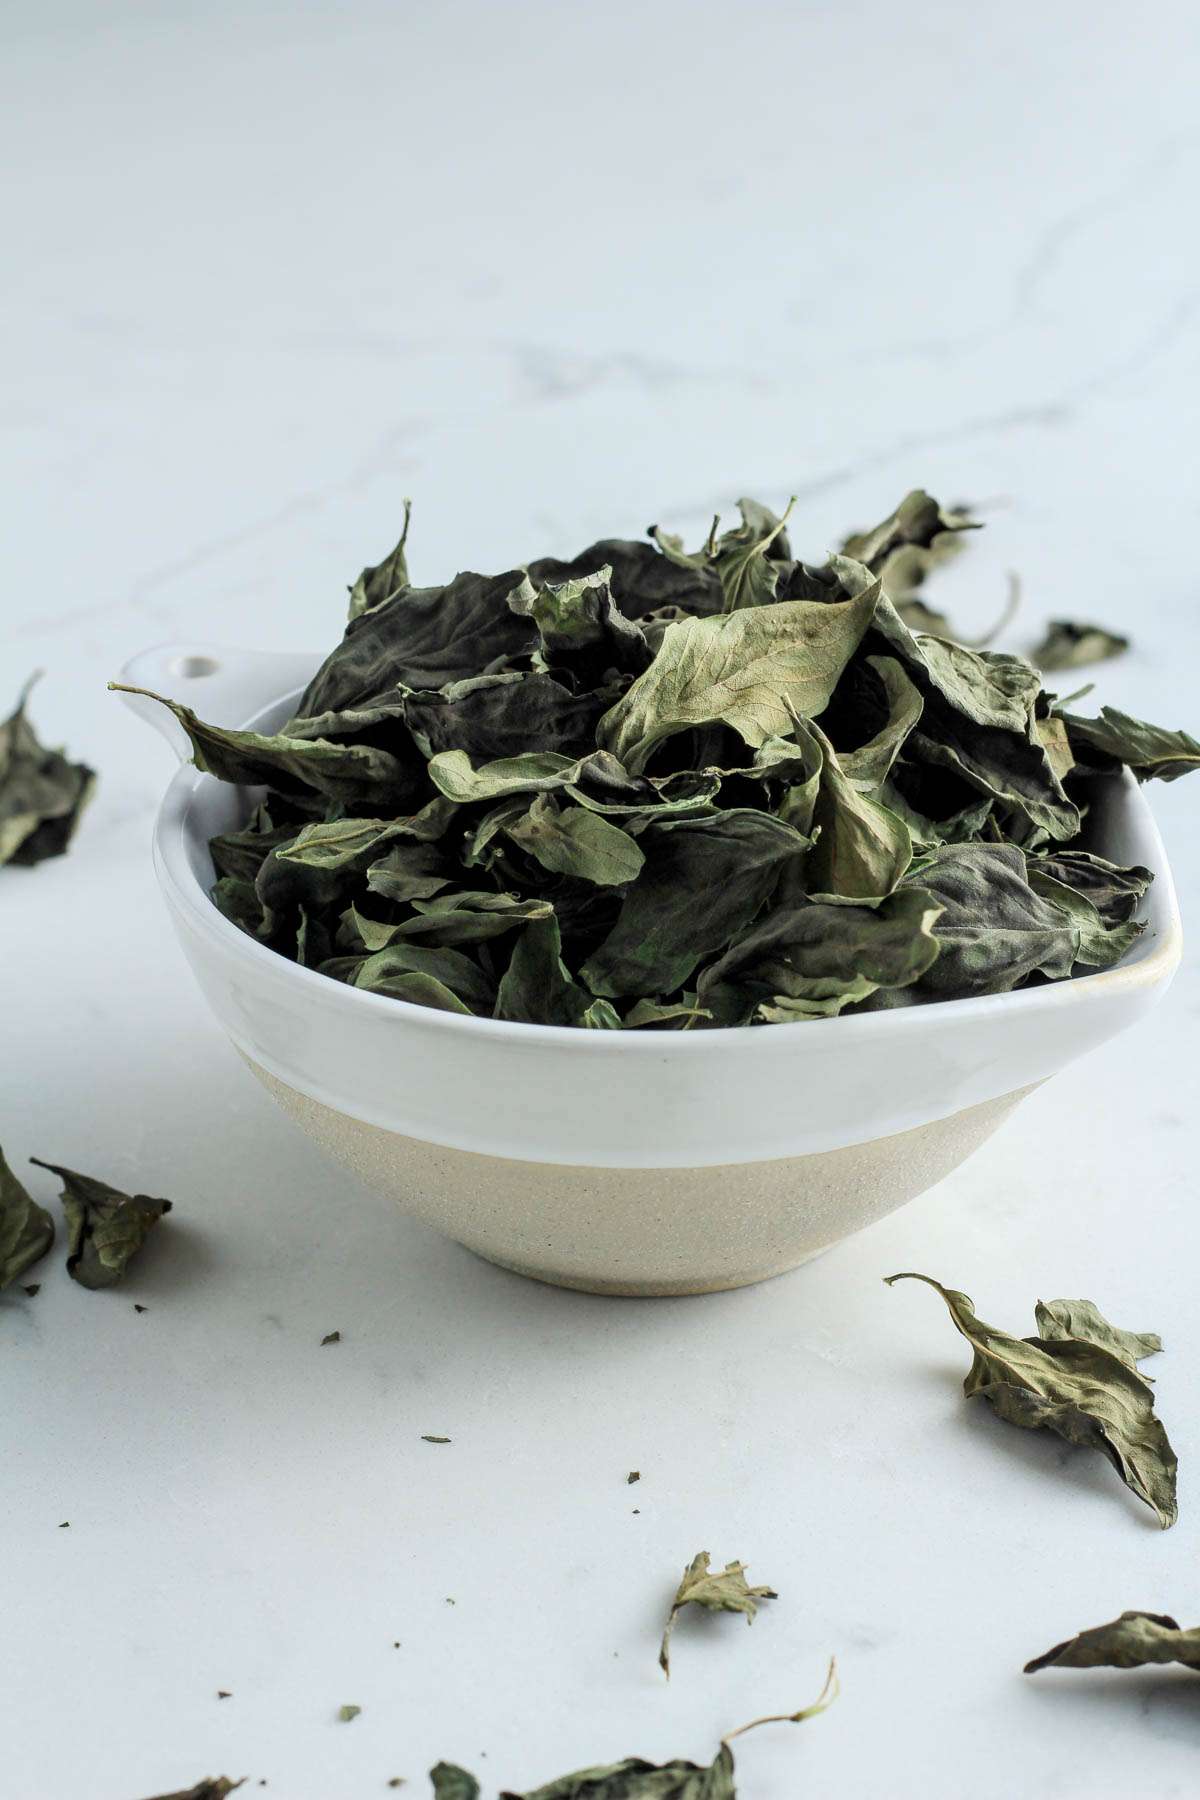
Drying Basil on the Counter
If you have the time, room, and patience, this energy free version for drying out basil makes a nice batch of dried basil as well.
- After laying the basil on the clean dish towels to dry, simply leave them there for 3-5 days or until all of the pieces are dried out completely.
- Some of the smaller pieces will dry out and can be placed in storage while the other larger pieces finish drying on their own.


Helpful Kitchen Tools
Here are a few helpful kitchen tools you might find useful when drying basil at home.
- Kitchen Sheers– Great for snipping stalks of basil from the garden. Be sure to use clean sheers when you cut the basil from the stalk.
- Large Colander– Used to rinse off the basil leaves before the drying process.
- Large Kitchen Towels– Large absorbent kitchen towels are perfect for drying leaves as well as leaving the leaves out to dry over a few days.
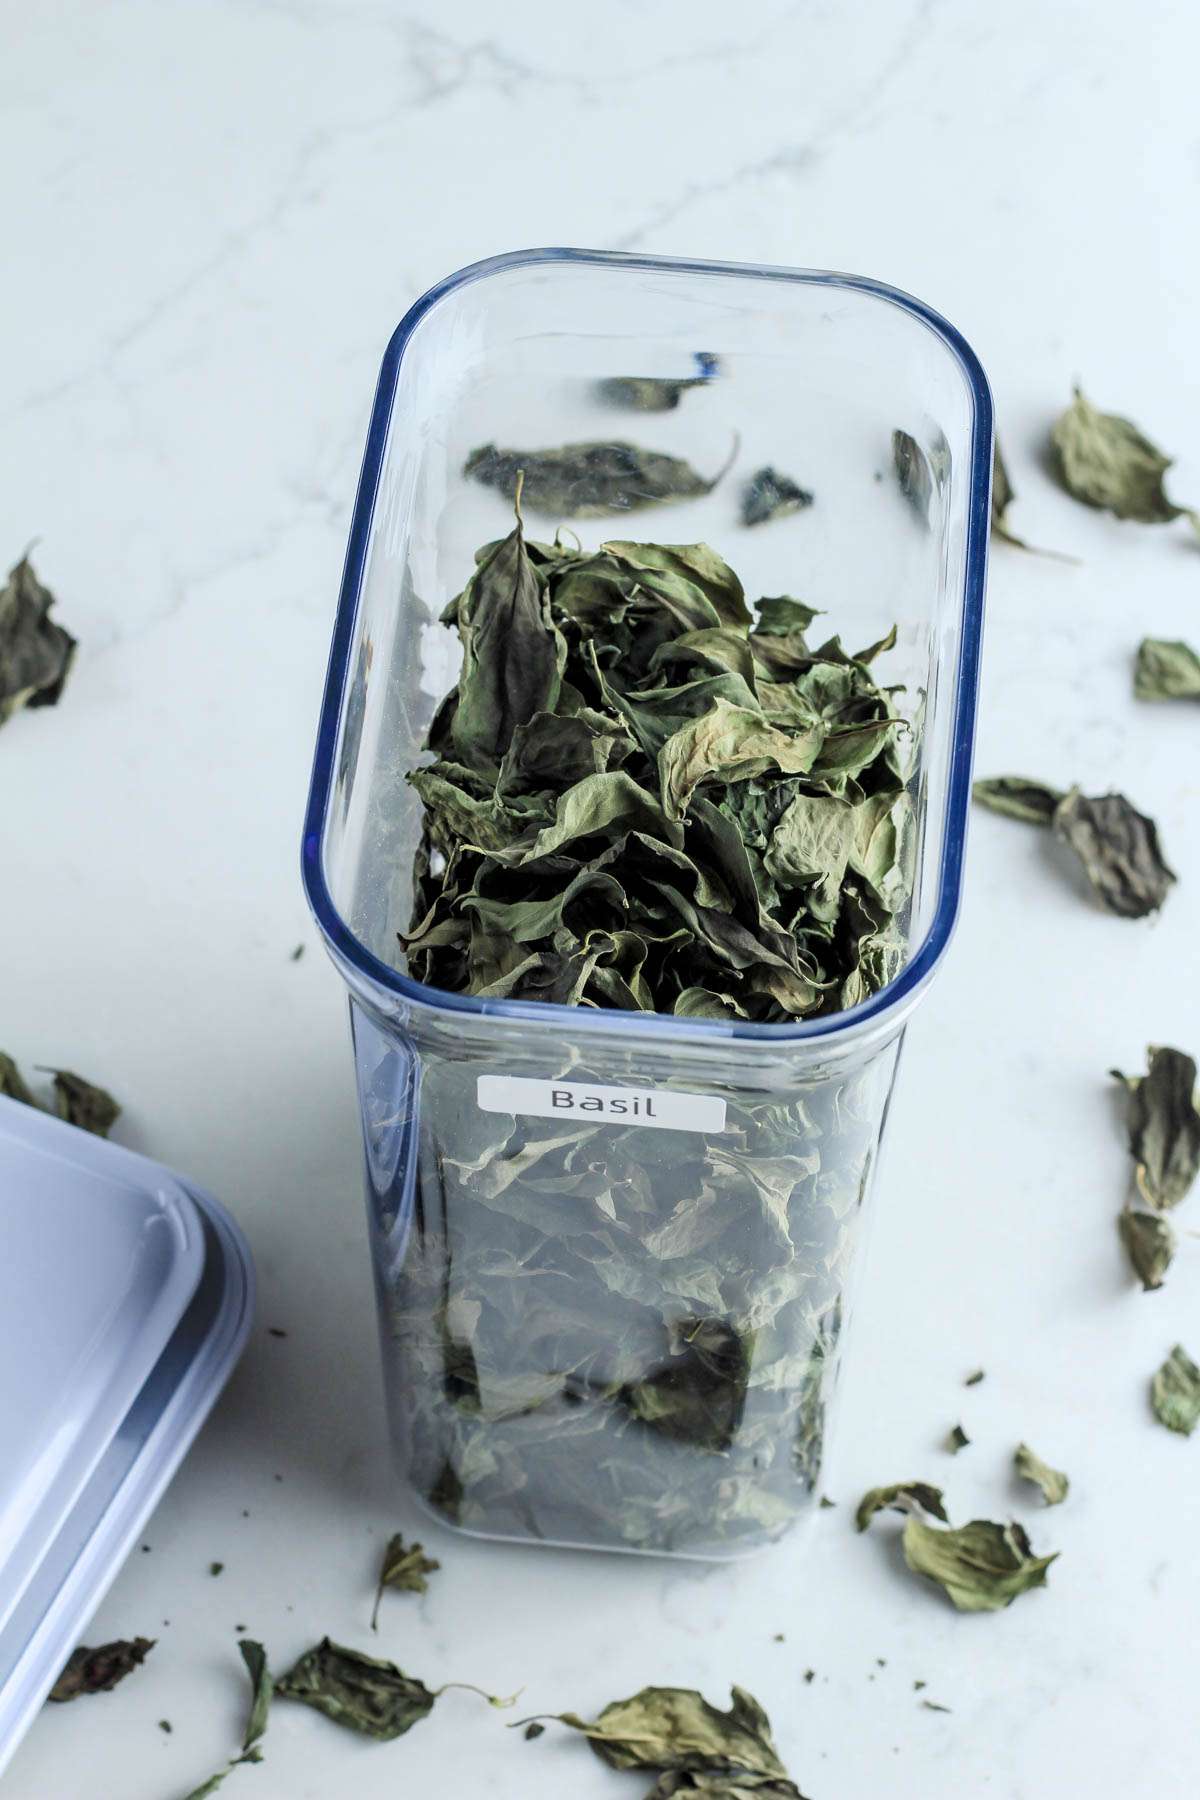
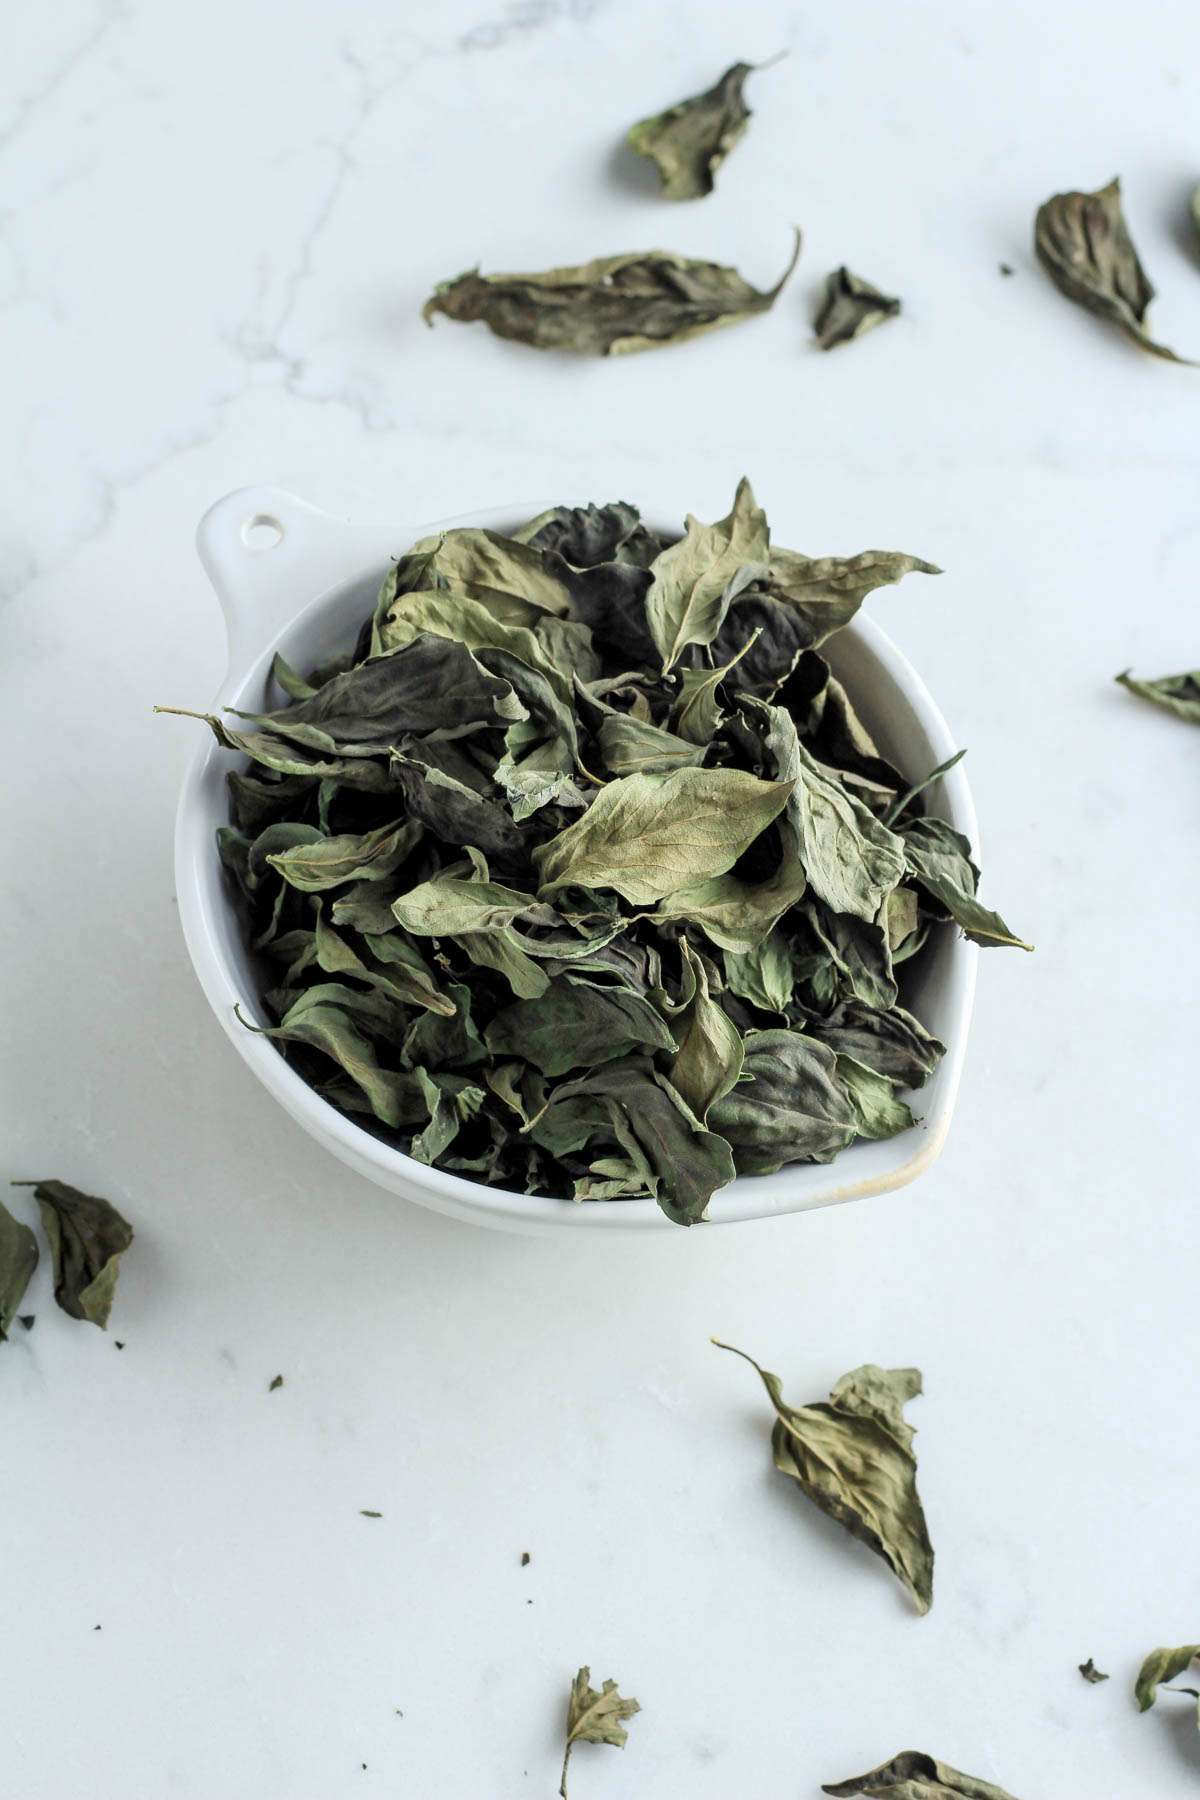
Storing Dried Basil
Once you have completely dried the basil make sure the basil leaves cool completely (if you baked them) before storing.
- Keep the basil leaves whole until you plan to use them. This ensures they have the strongest flavor in your tea or cooking.
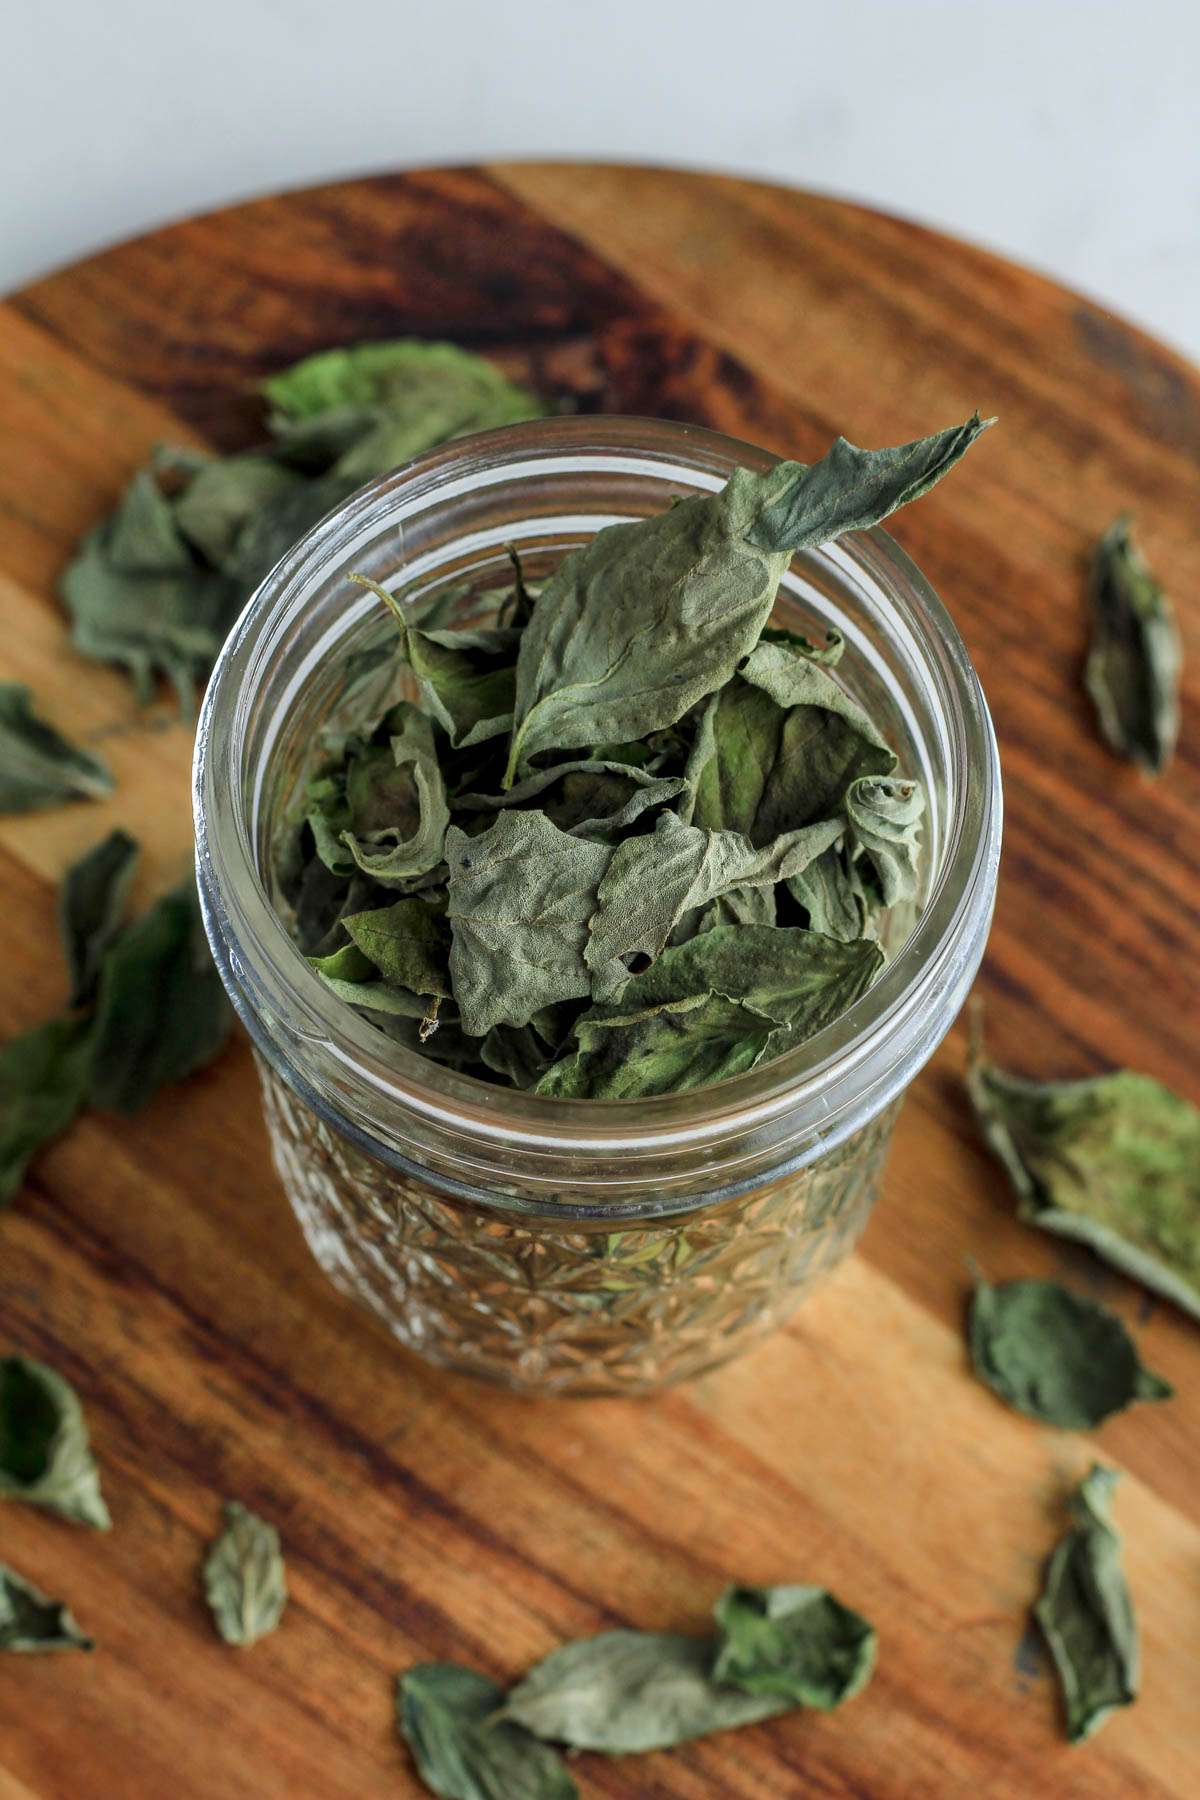
- Place in a cool dry place. I like to keep them in the pantry or in a kitchen cabinet.
- Use an air-tight container to keep them fresh longer.
Your dried basil should last between 6 months to a year when stored properly.
How to Use Dried Basil
Now that you know how to dry out your fresh basil leaves for longer keeping, here are some of my favorite ways to use dried basil.
- Dried basil tea– Simply crumble about a tablespoon of dried basil leaves per cup into a tea basket and steep in boiling water for about 5 minutes.
- Cooking– Use in place of jarred basil when recipes call for dried basil. Crumble or chop just before using.
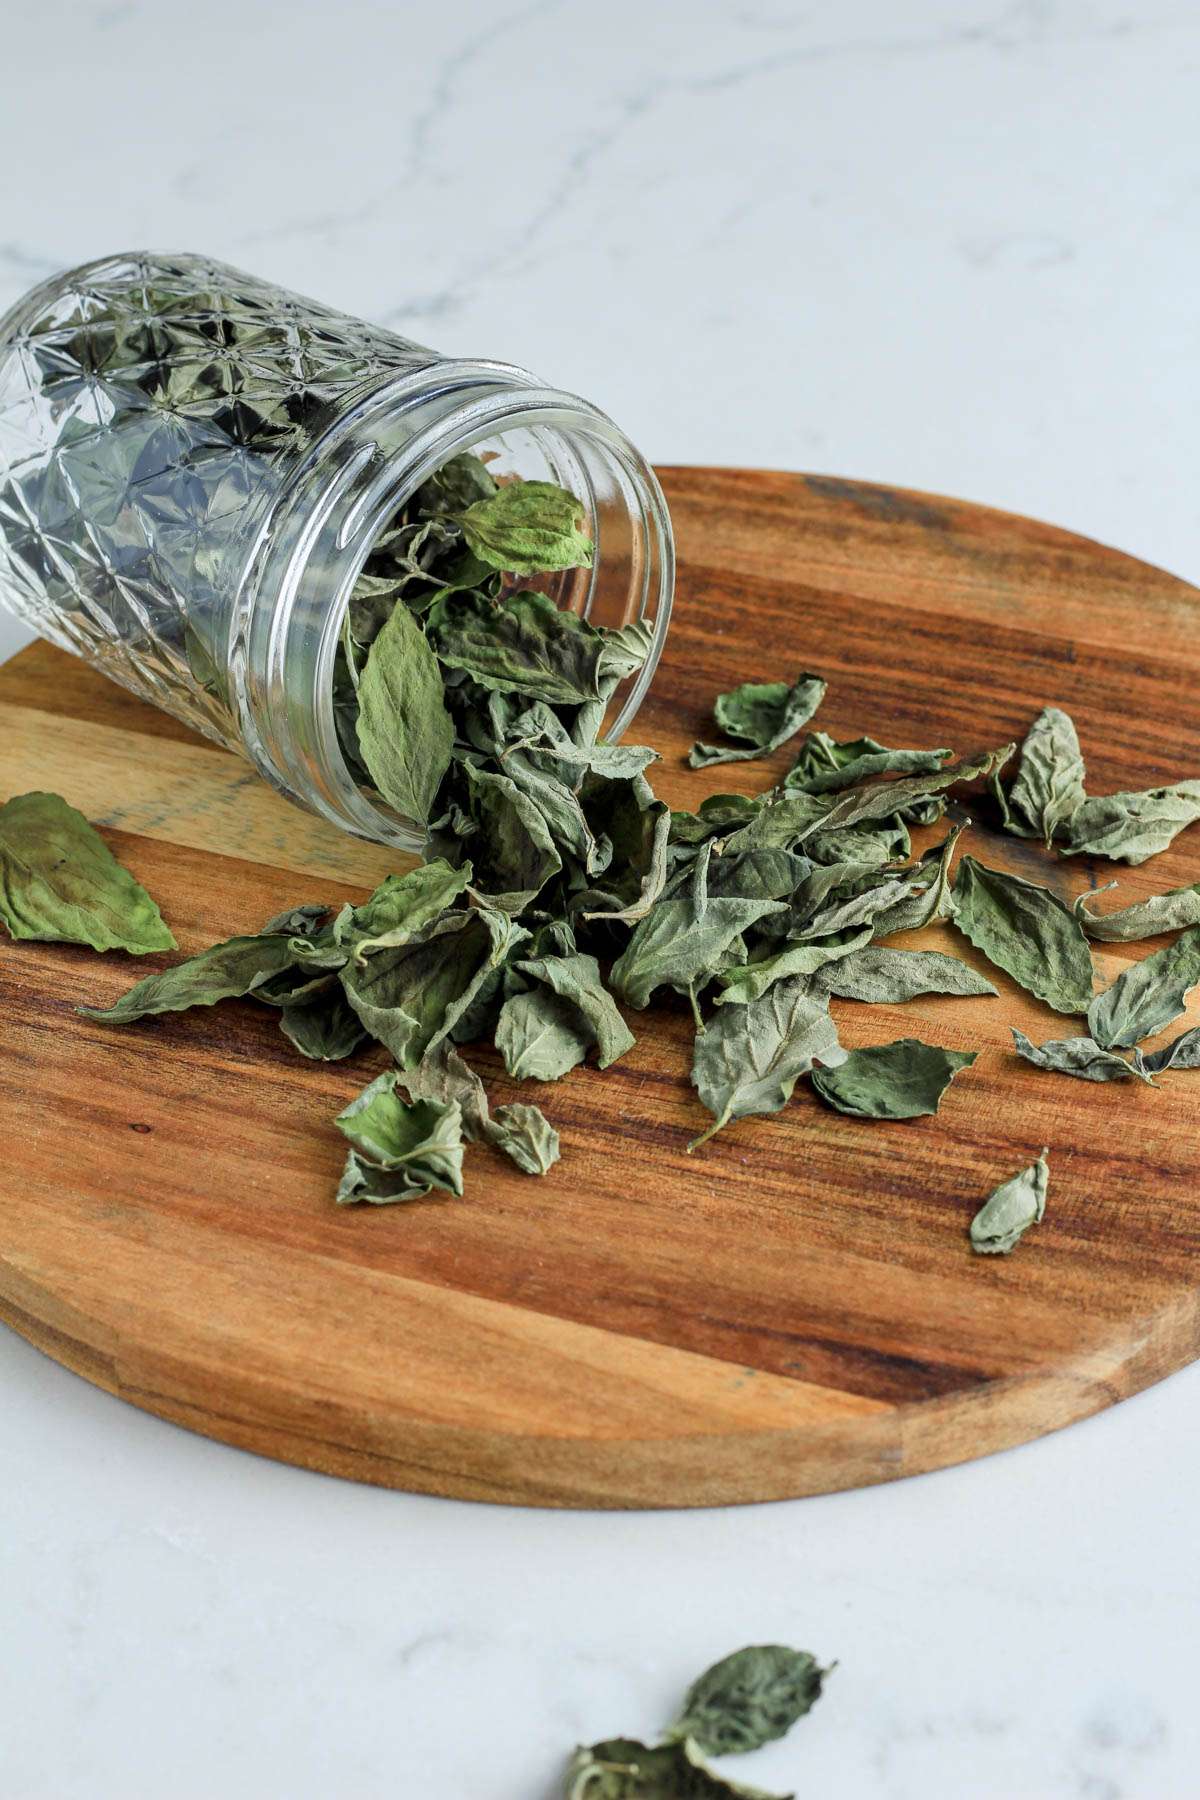
- Gifting– Place in smaller mason jars and gift dried basil leaves to friends for a much more pungent basil than they can get at the stores.
Garden Fresh Recipes
Looking for more delicious recipes using your garden fresh produce like cherry tomatoes, basil, and zucchini? Here are a few recipes that help me with my prolific summer garden.
- Cinnamon Swirl Zucchini Bread
- Spinach and Basil Pesto
- Vegan Air Fryer Kale Chips
- Avocado Toast with Roasted Tomatoes
If you used either method for drying out fresh basil please let me know how it went in the comments below!
You can also share a picture of it with me on Instagram by tagging @mylifeafterdairy so I can see all of your life after dairy adventures!
Looking for more delicious dairy-free recipes and tips? Sign up for my newsletter below to get the most helpful recipes, tips, and products for your life after dairy.
How to Dry Fresh Basil
Take your summer garden into the winter with this simple guide for drying your fresh basil.
- Prep Time: 30 minutes
- Cook Time: 1 hour
- Total Time: 1 hour 30 minutes
- Yield: 1 cup 1x
Ingredients
- 1 cup Fresh Basil Leaves ((or more))
Instructions
Step 1: Clean the Basil
- Cut the basil back from the plant. I typically cut about 1/4 inch above a set of two leaves.
- Remove the leaves from the stems.
- Repeat with the remaining stalks of basil until all pruned stalks have been picked clean.
- Wash the basil in cold water until clean.
- Lay out the basil pieces on clean dish towels to dry.
- I like to leave the basil on the dish towel to dry overnight but if you do not have the time or resources to leave a cloth of basil out all night long, use a second clean dish towel and gently press down on top of the basil to dry both sides before baking.
Option 1: Oven Drying Basil
- Preheat the oven to the lowest temperature it will go to. For our oven it’s 170°F.
- Place the washed and dried basil on a parchment paper lined rimmed baking sheet in one even layer.
- Bake the basil in the preheated oven for 45-60 minutes or until all of the pieces are dried to the touch.
- Remove from the oven and allow to cool completely before placing in a long term storage solution.
Option 2: Air Drying Basil
- After laying the basil on the clean dish towels to dry, simply leave them there for 3-5 days or until all of the pieces are dried out completely.
- Some of the smaller pieces will dry out and can be placed in storage while other larger pieces finish drying on their own.
Some of the links above contain Amazon affiliate links. These are products and brands I use in my kitchen daily. They pay me a small commission for the referral at no additional cost to you.